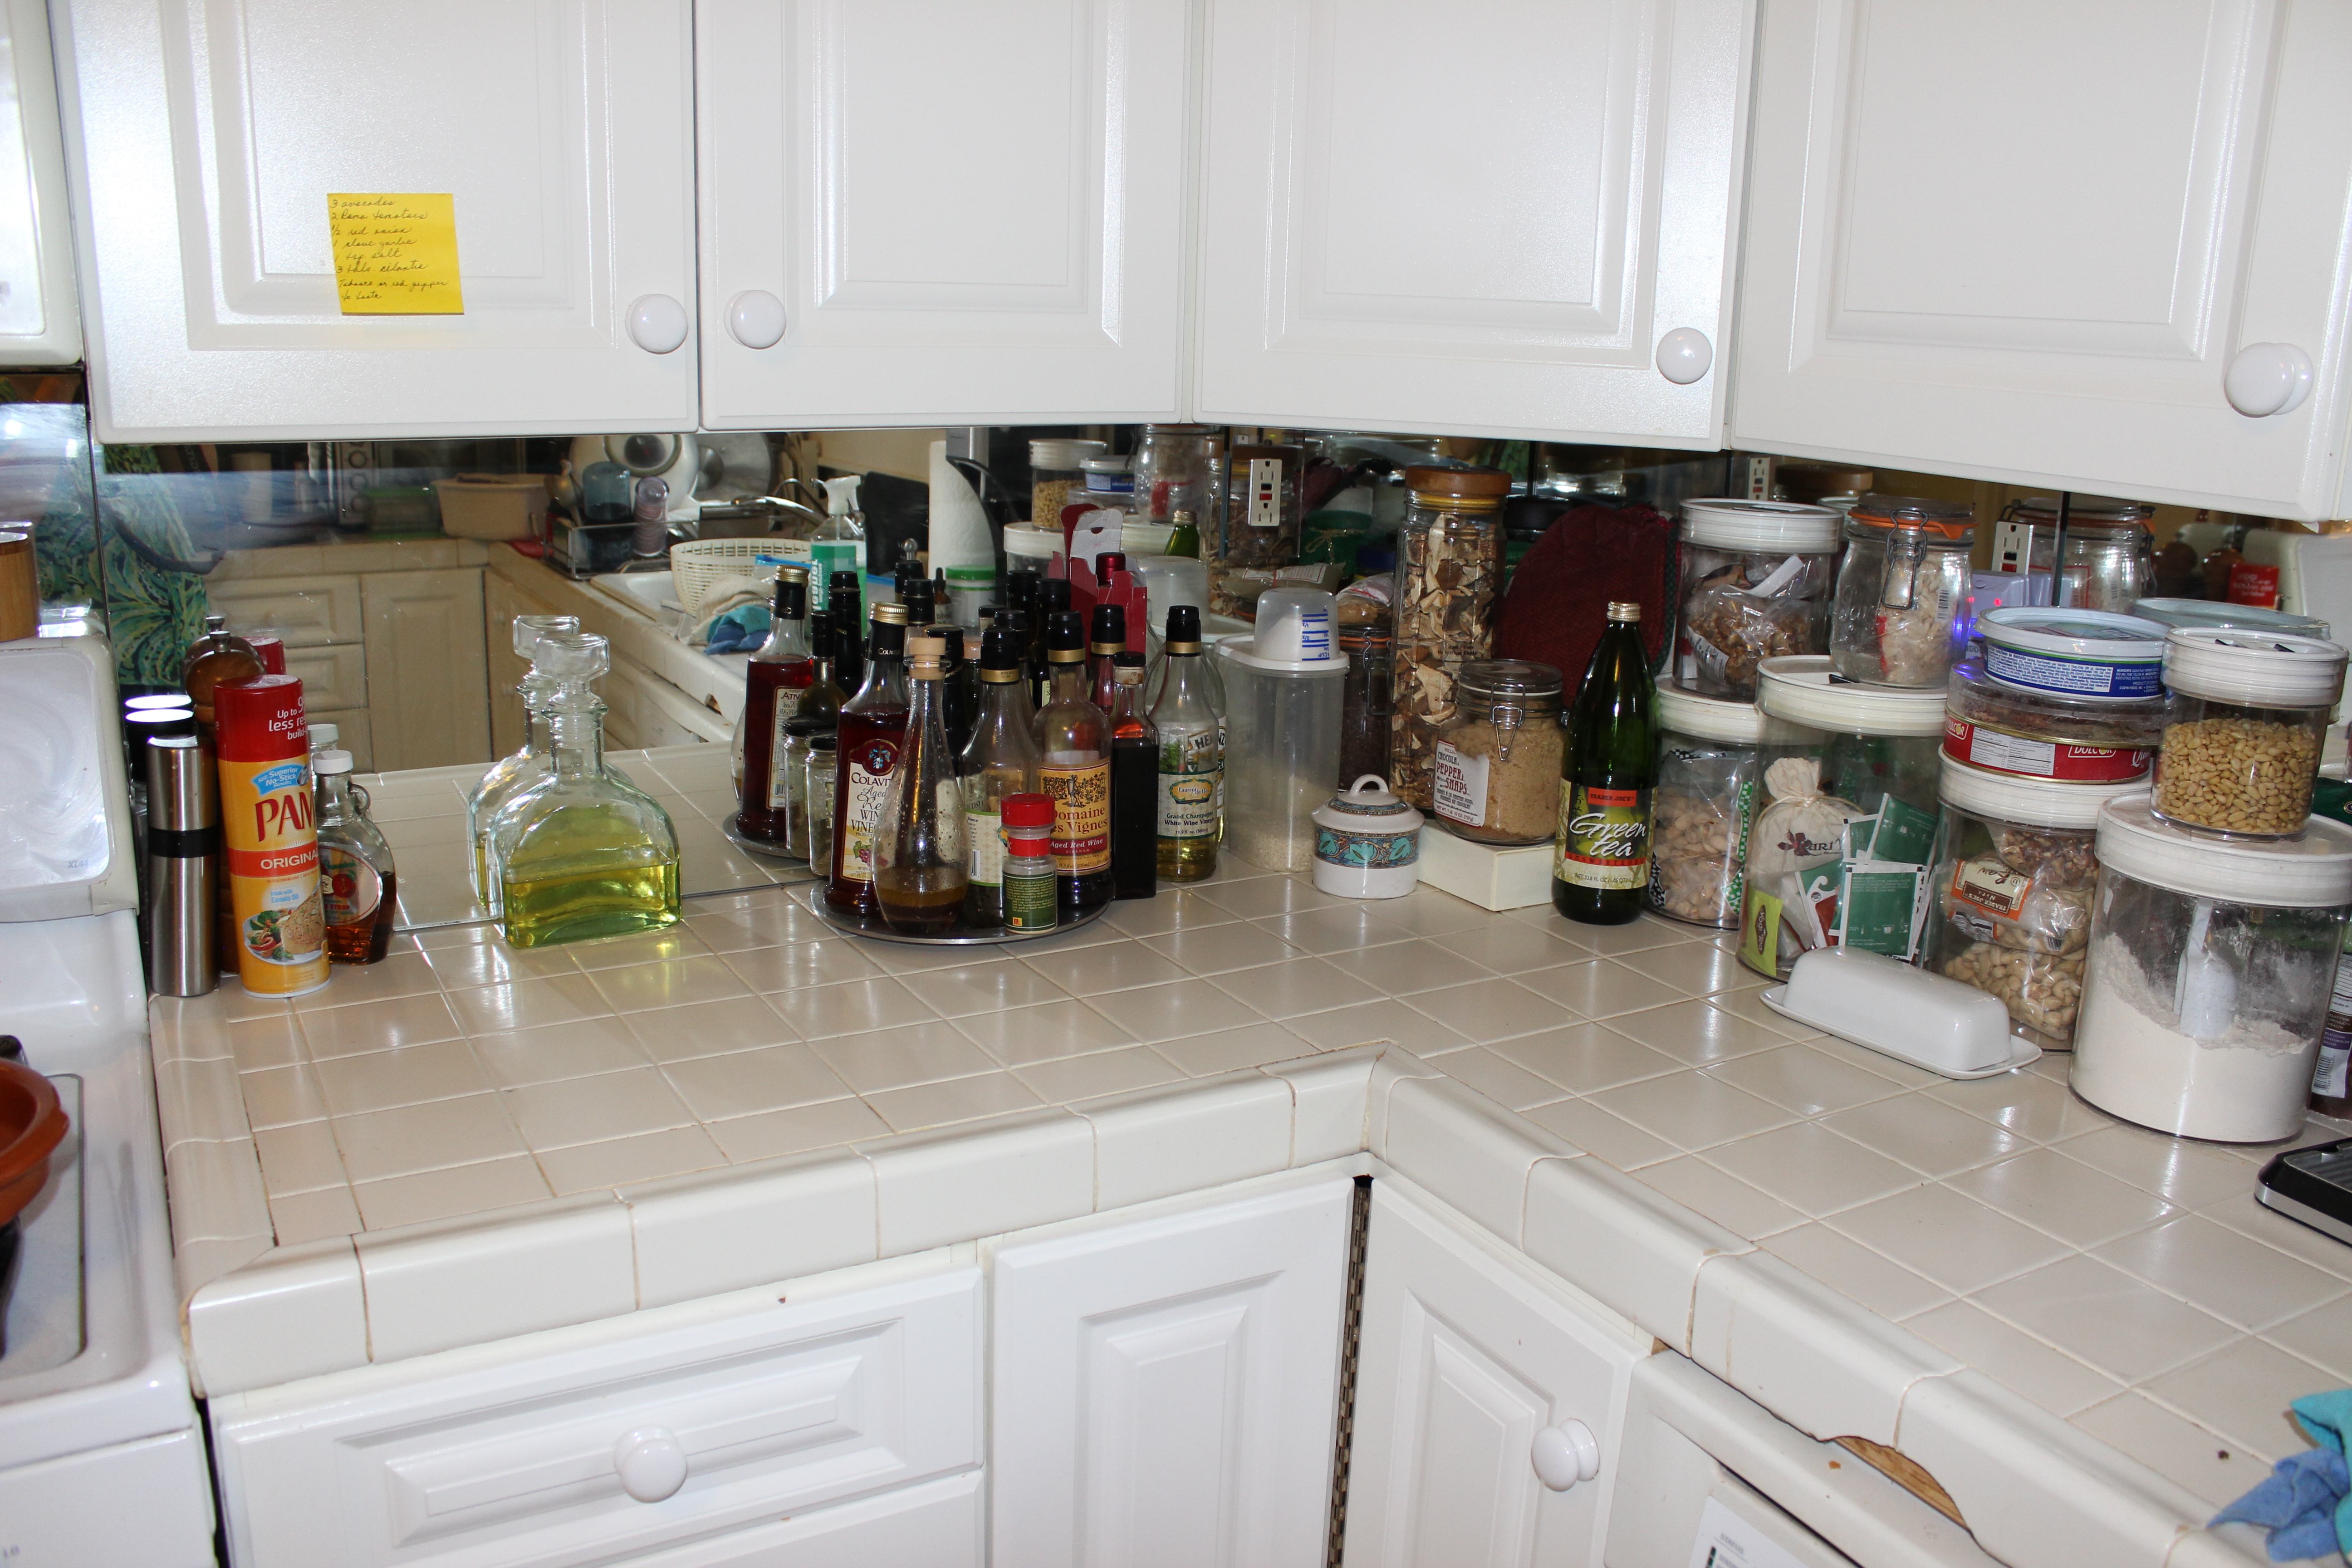
Recently I worked on a small kitchen with someone who loves to cook. The only problem was there was less and less room to do the actual cooking as counters and spaces filled up with different foods, cooking utensils, and books. For most people who love to cook, getting rid of beloved kitchen items, even if only used once a year, is near impossible. I knew that would be the case here.
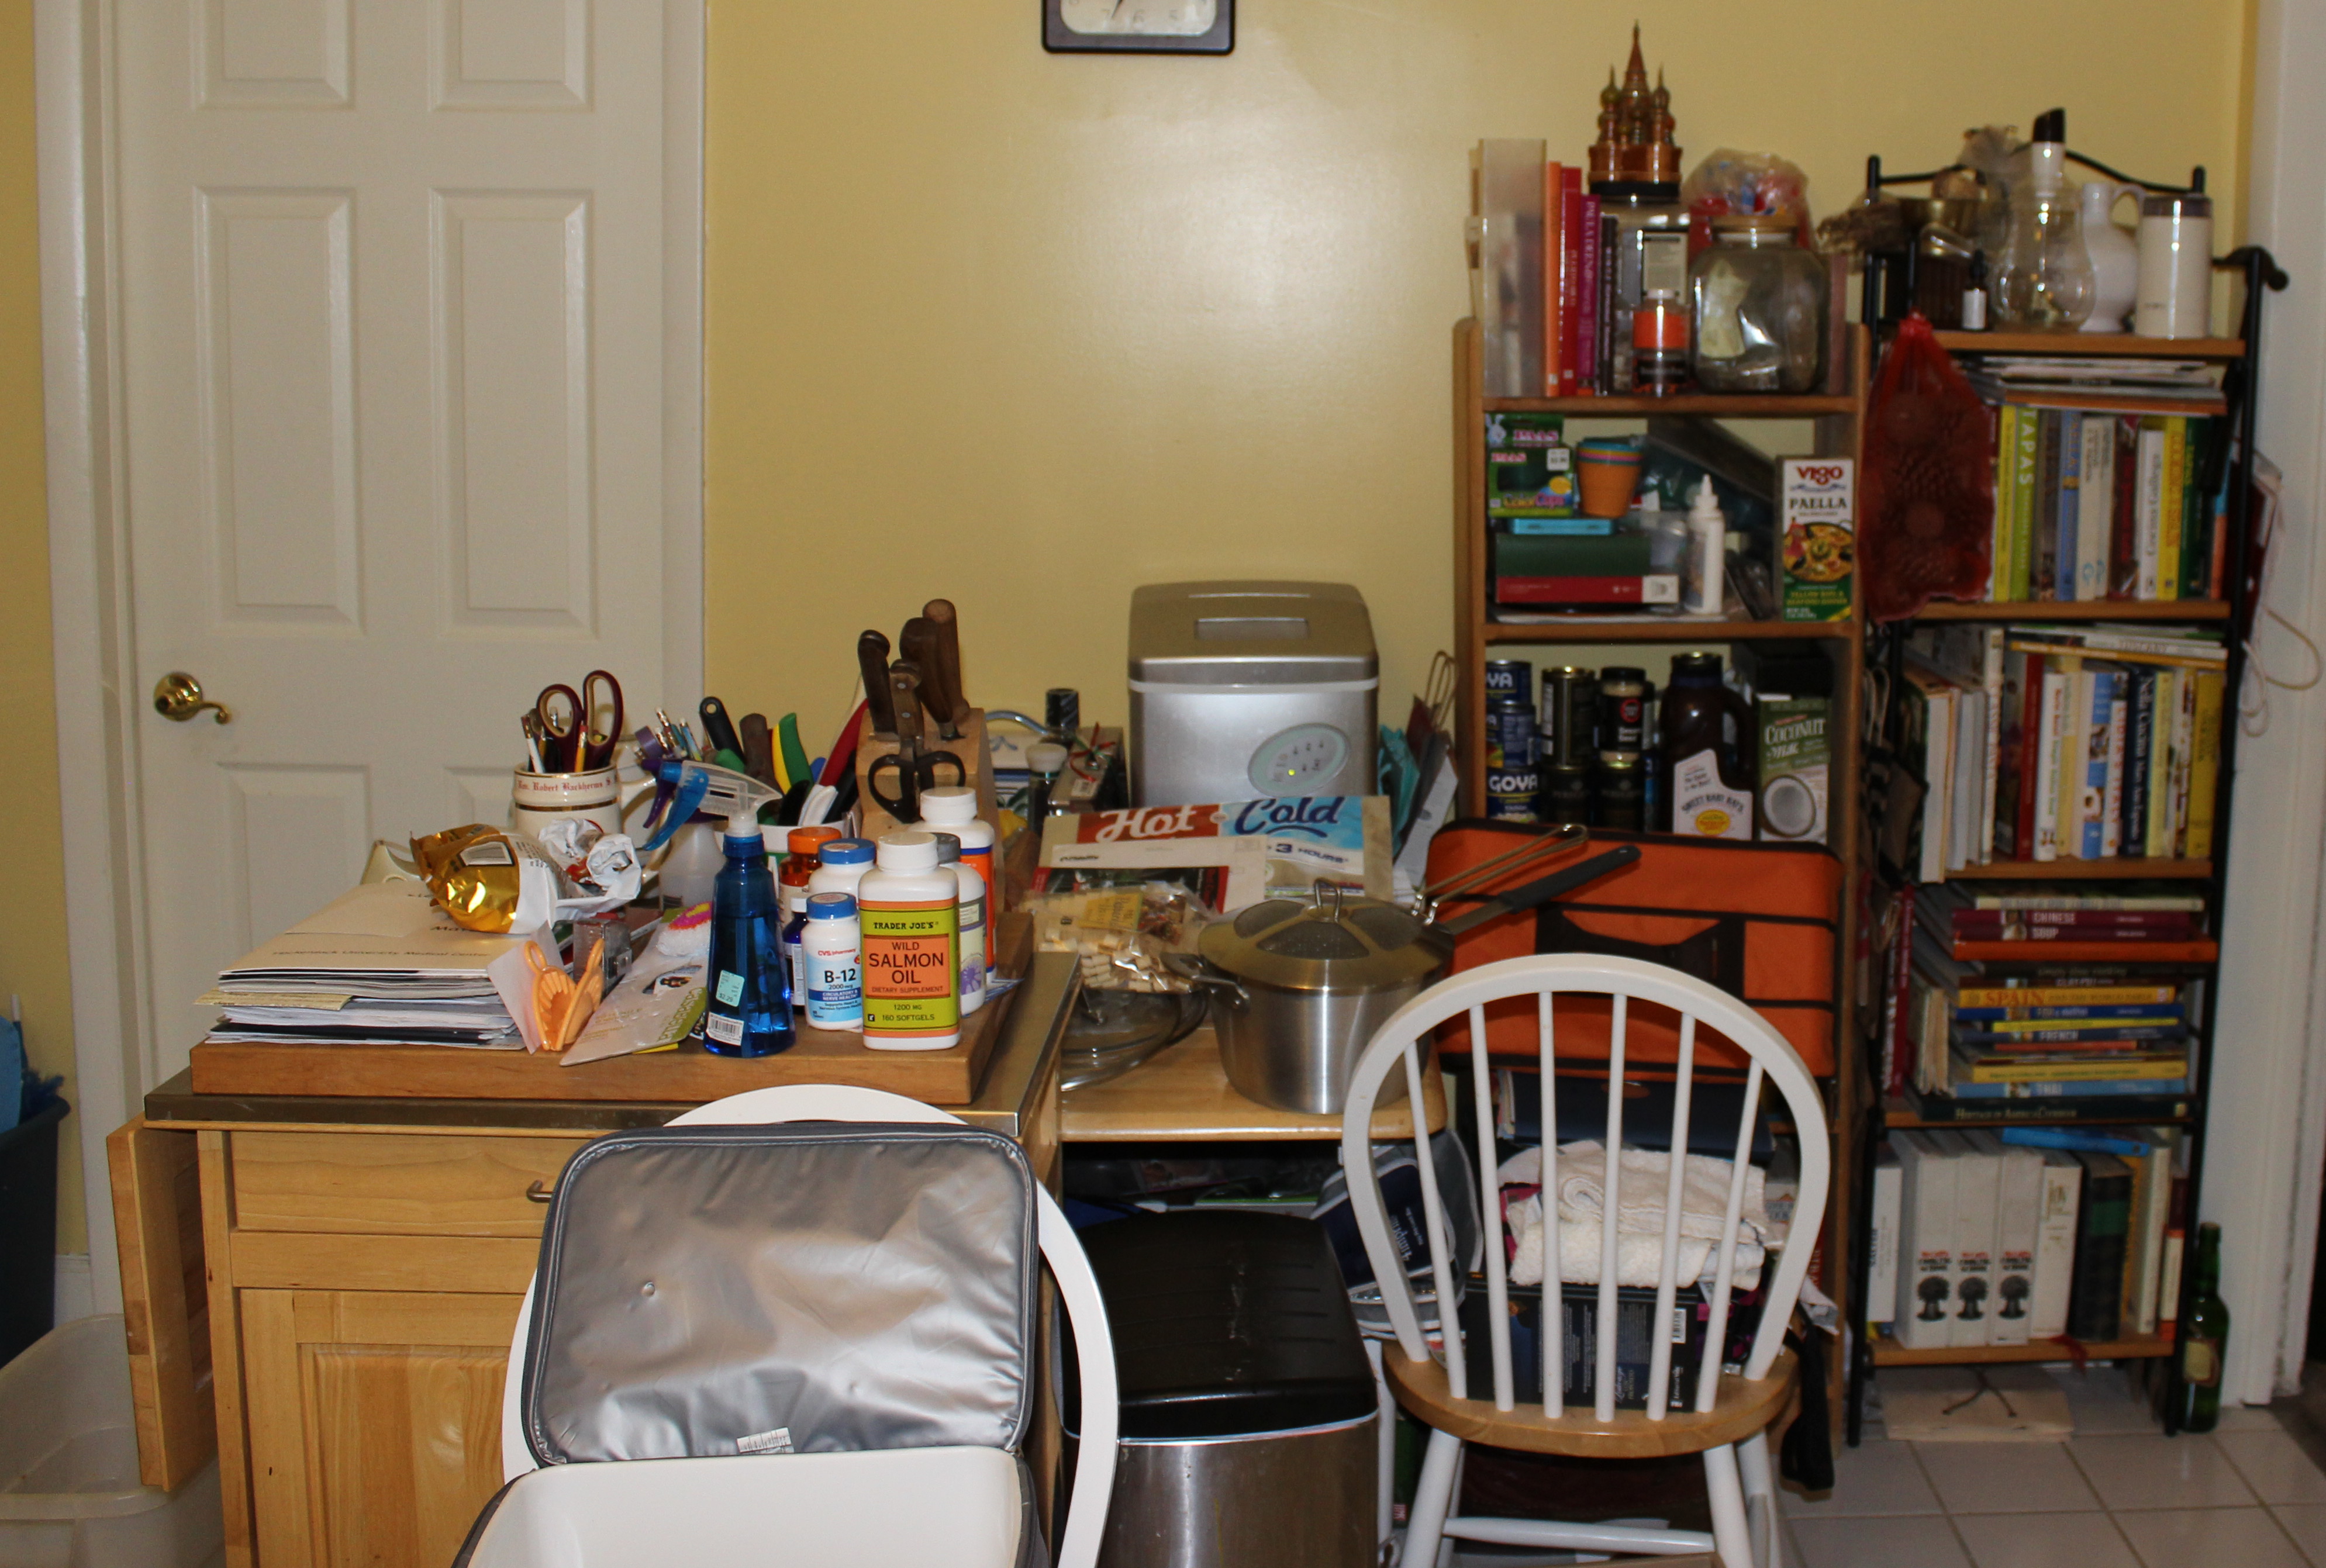
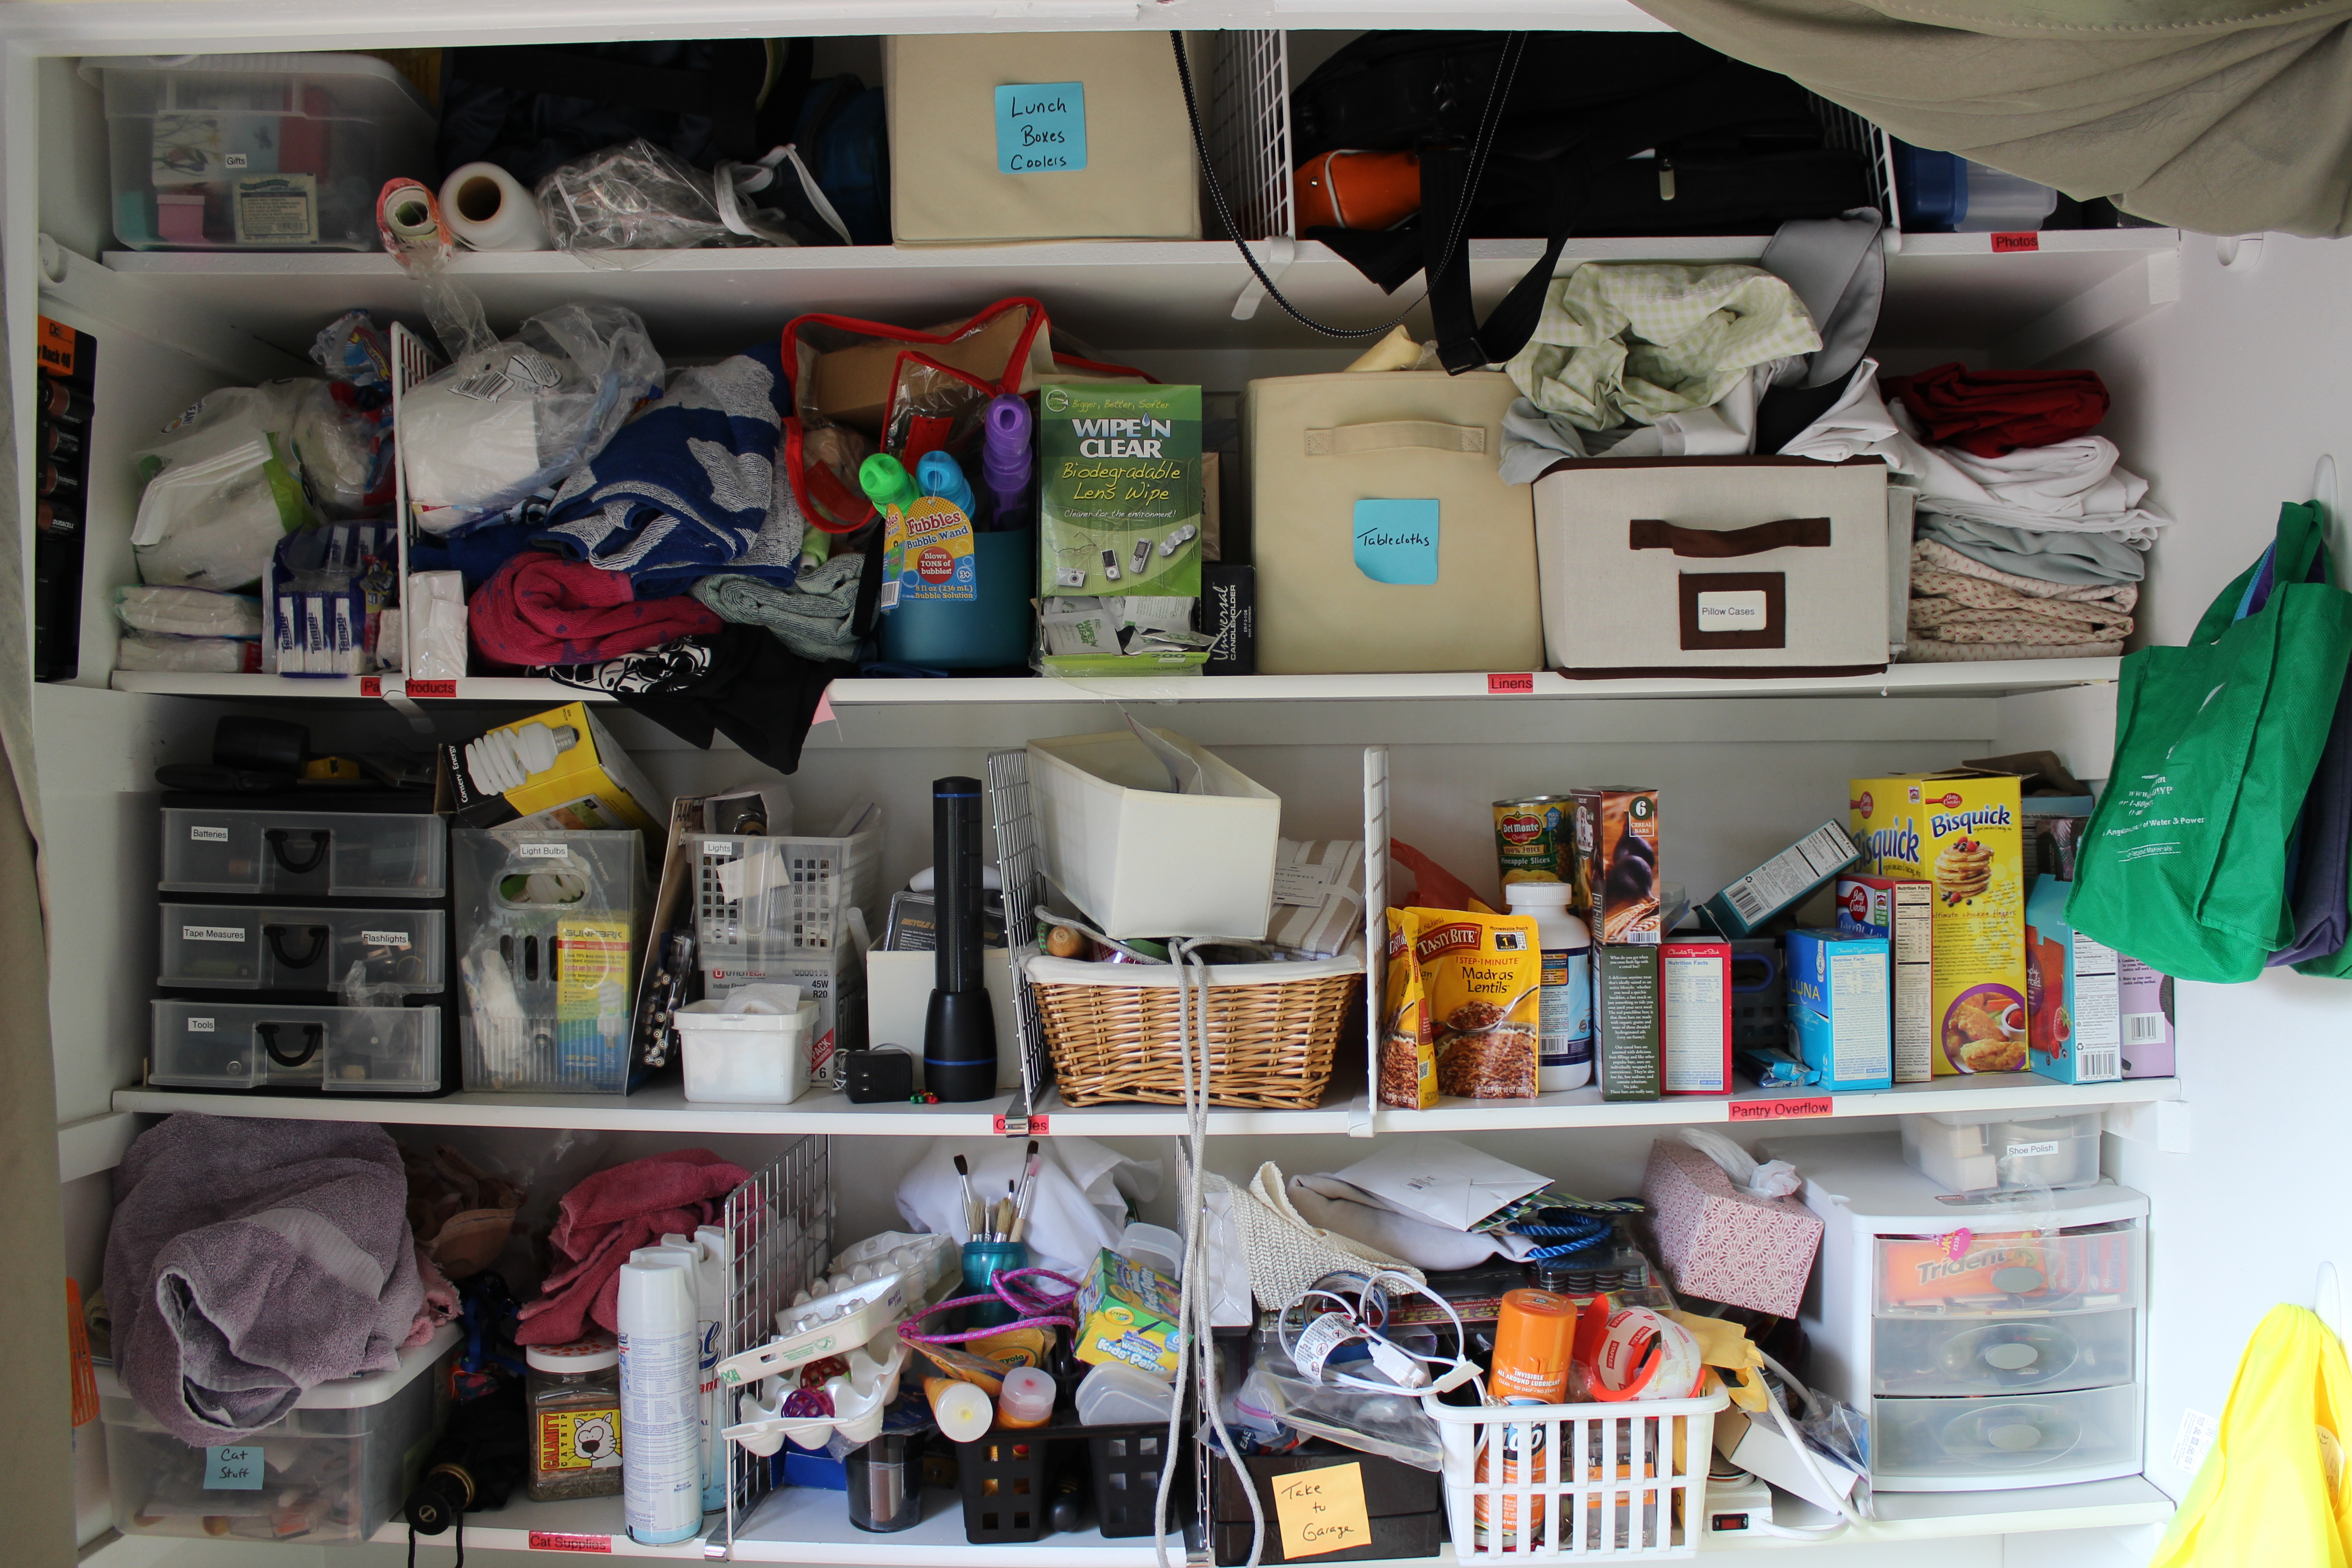
Before
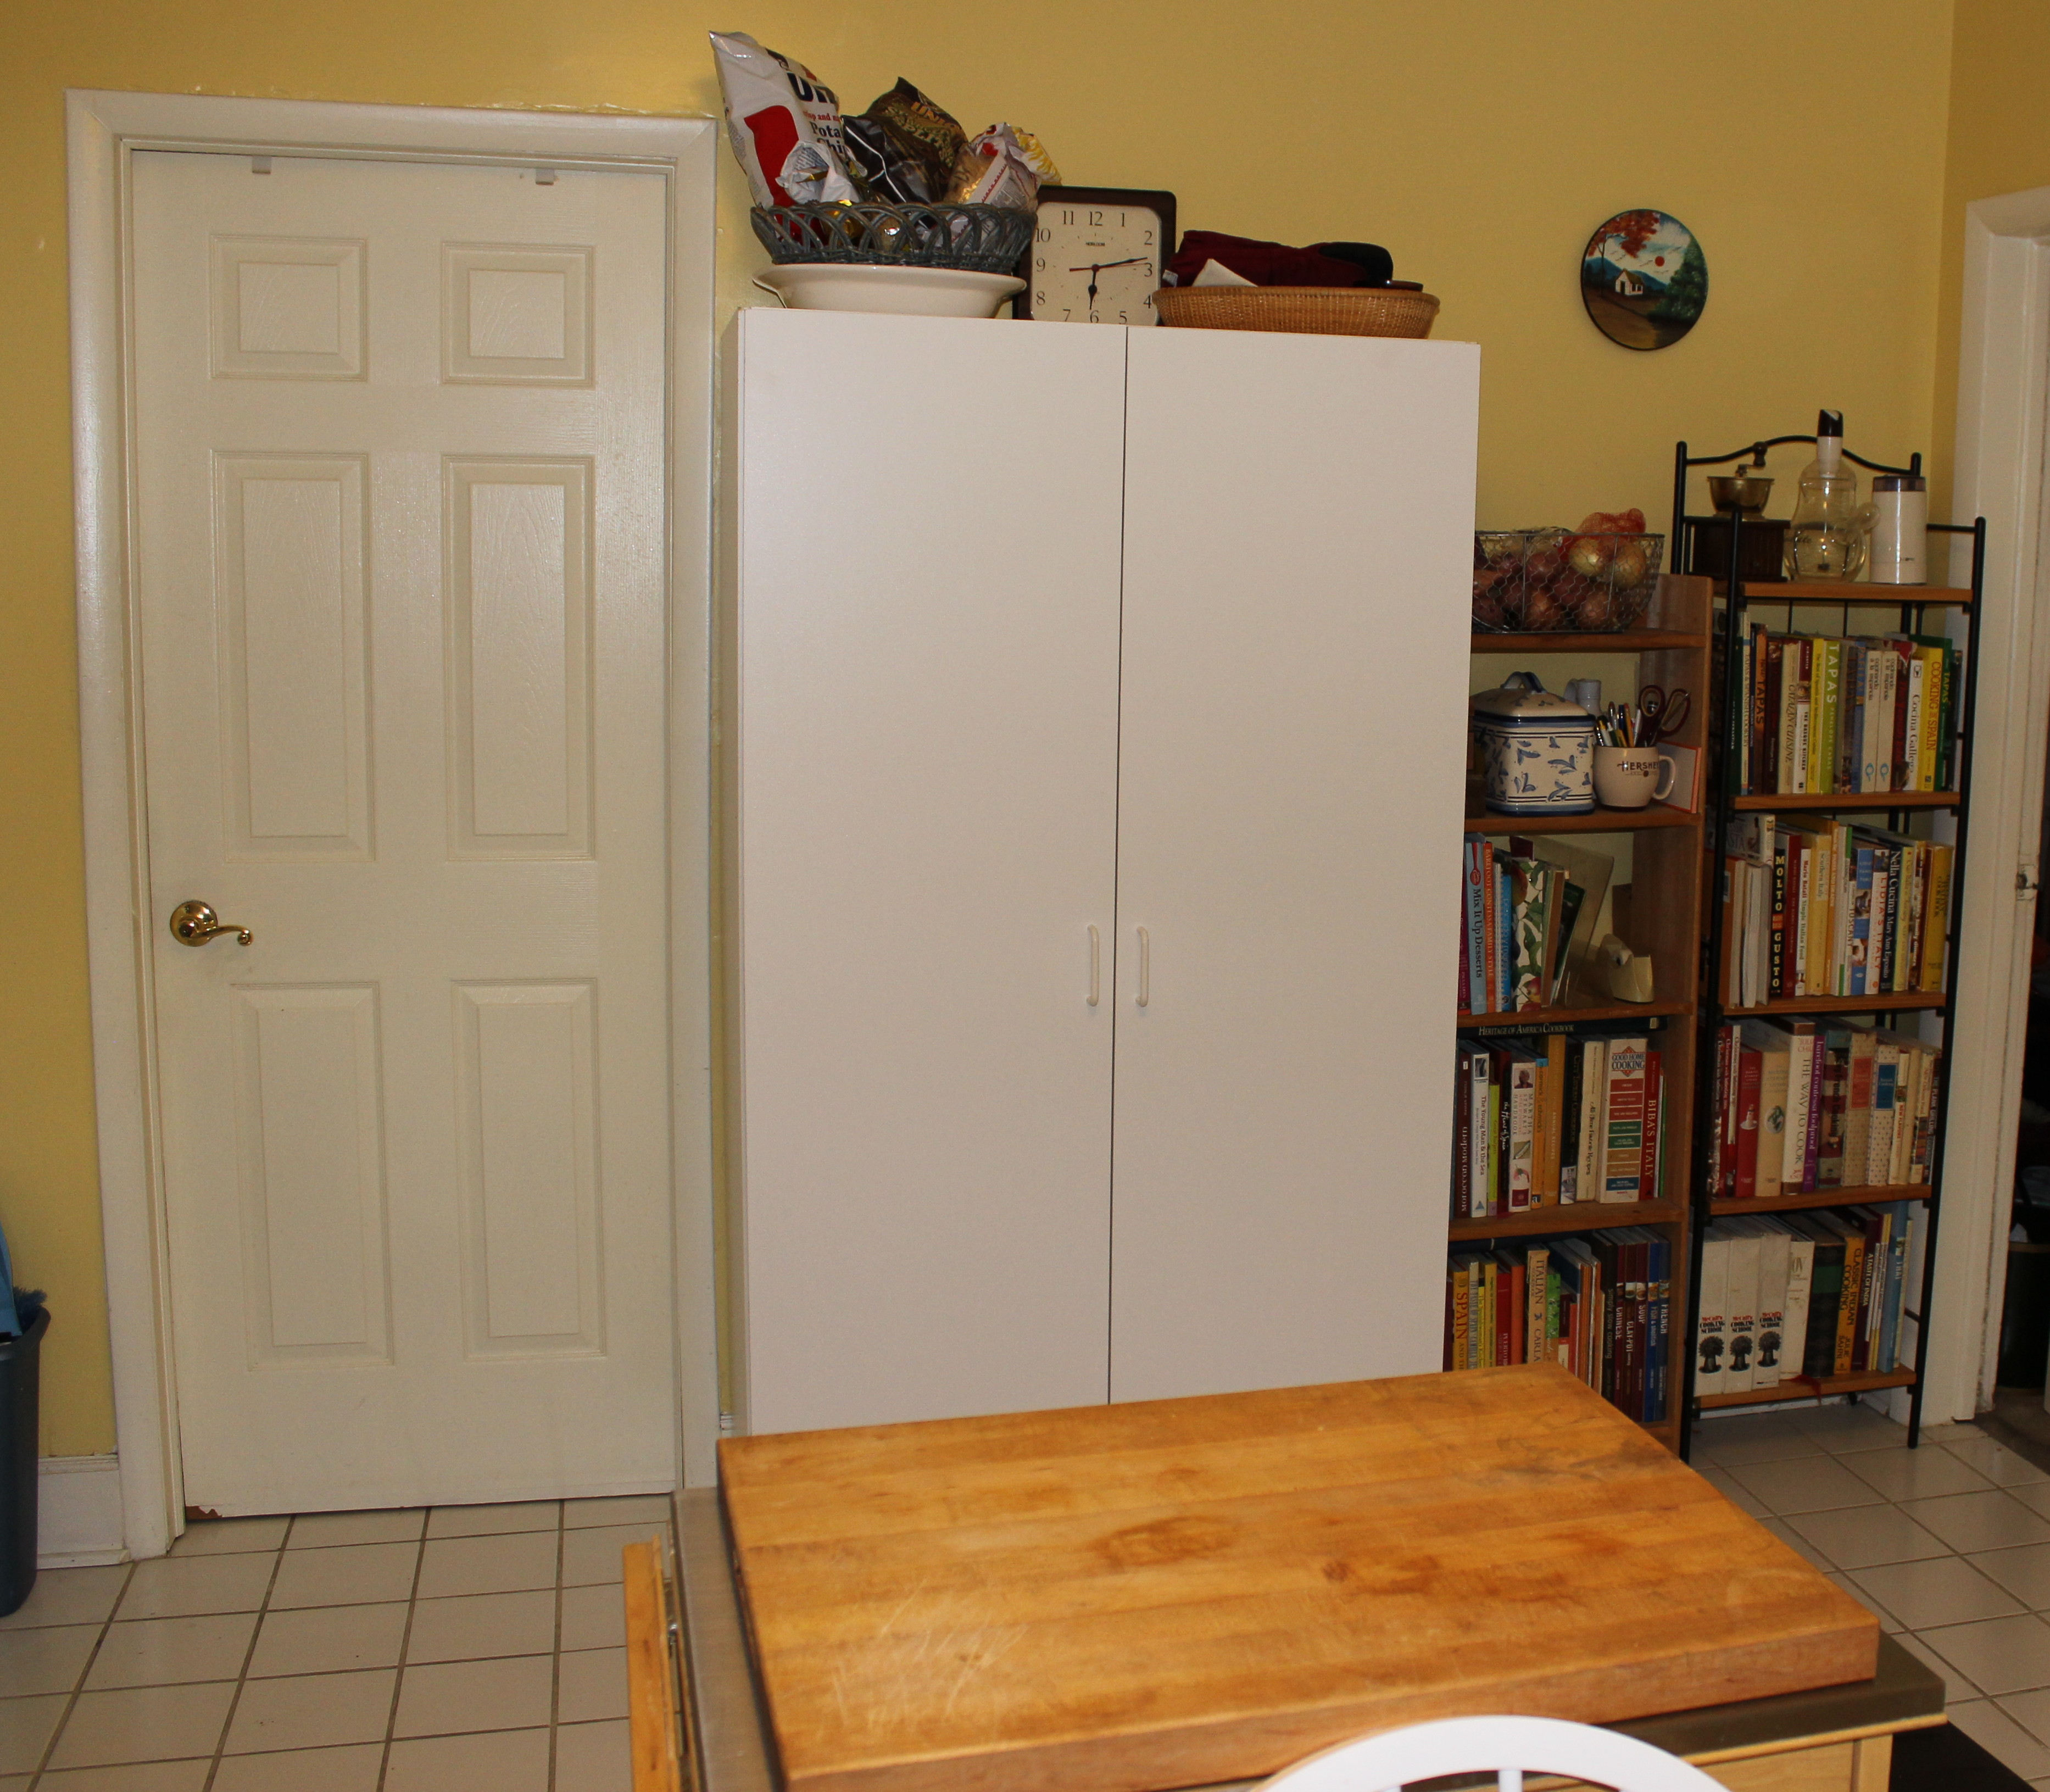
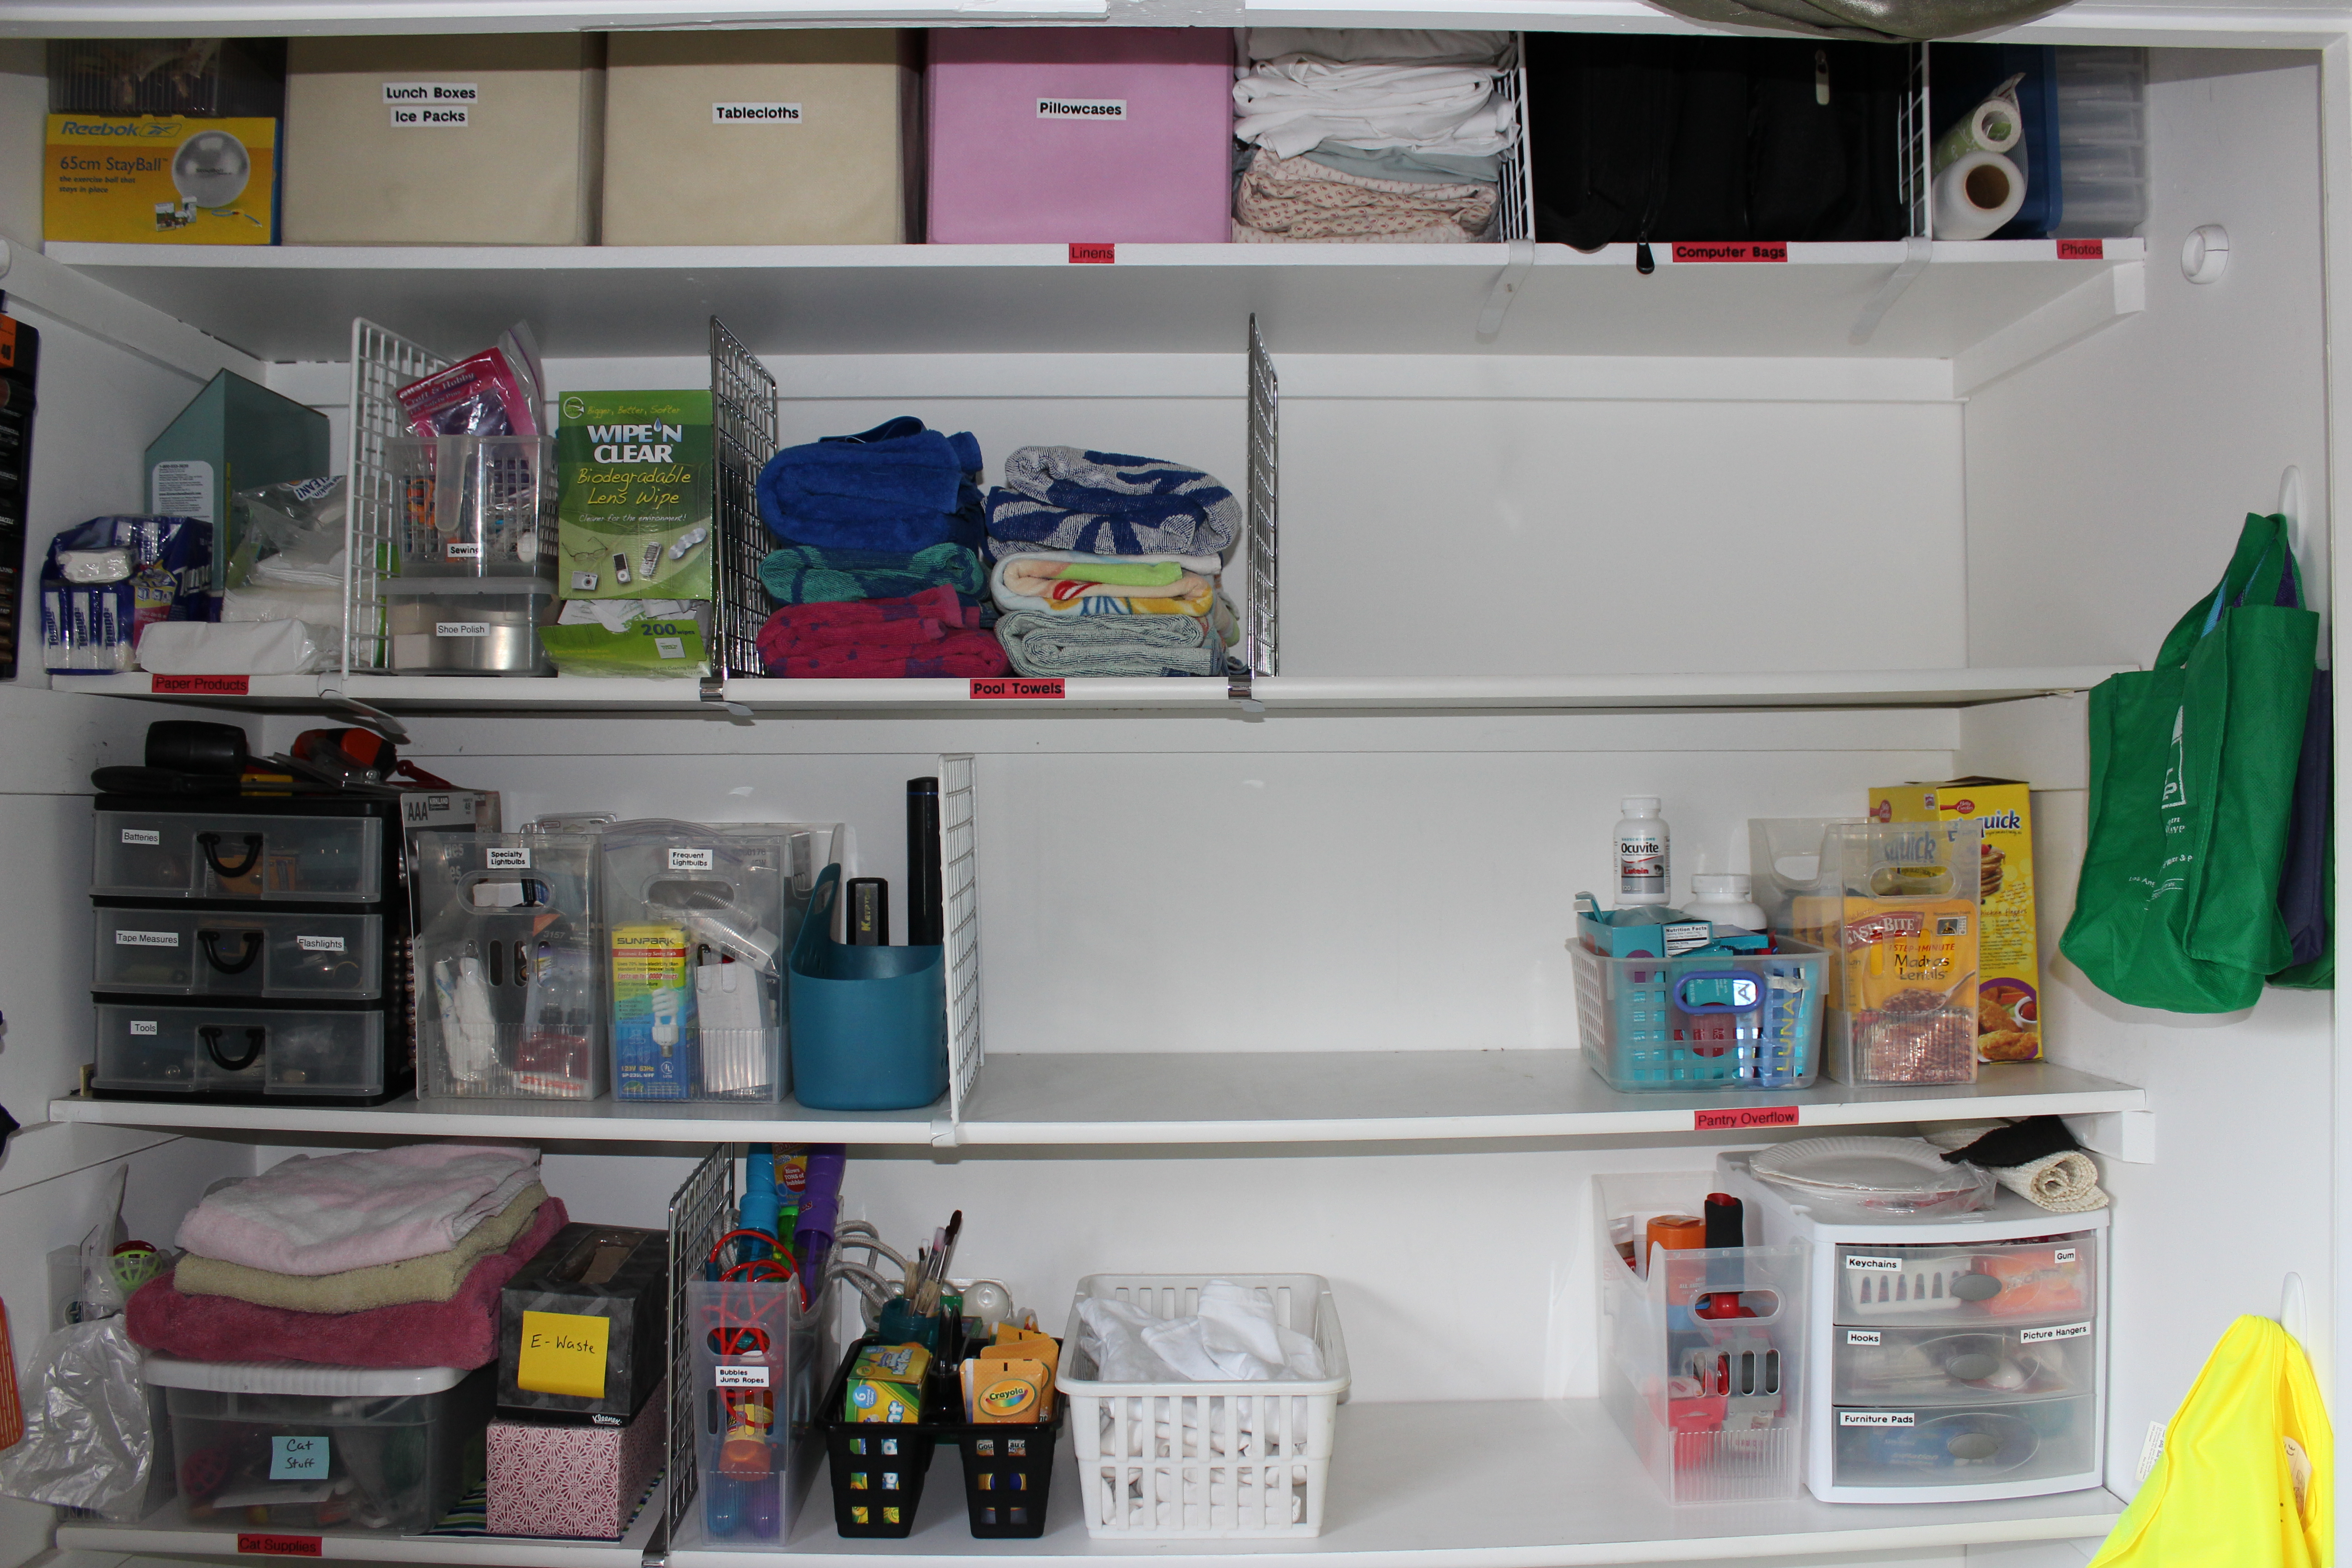
After
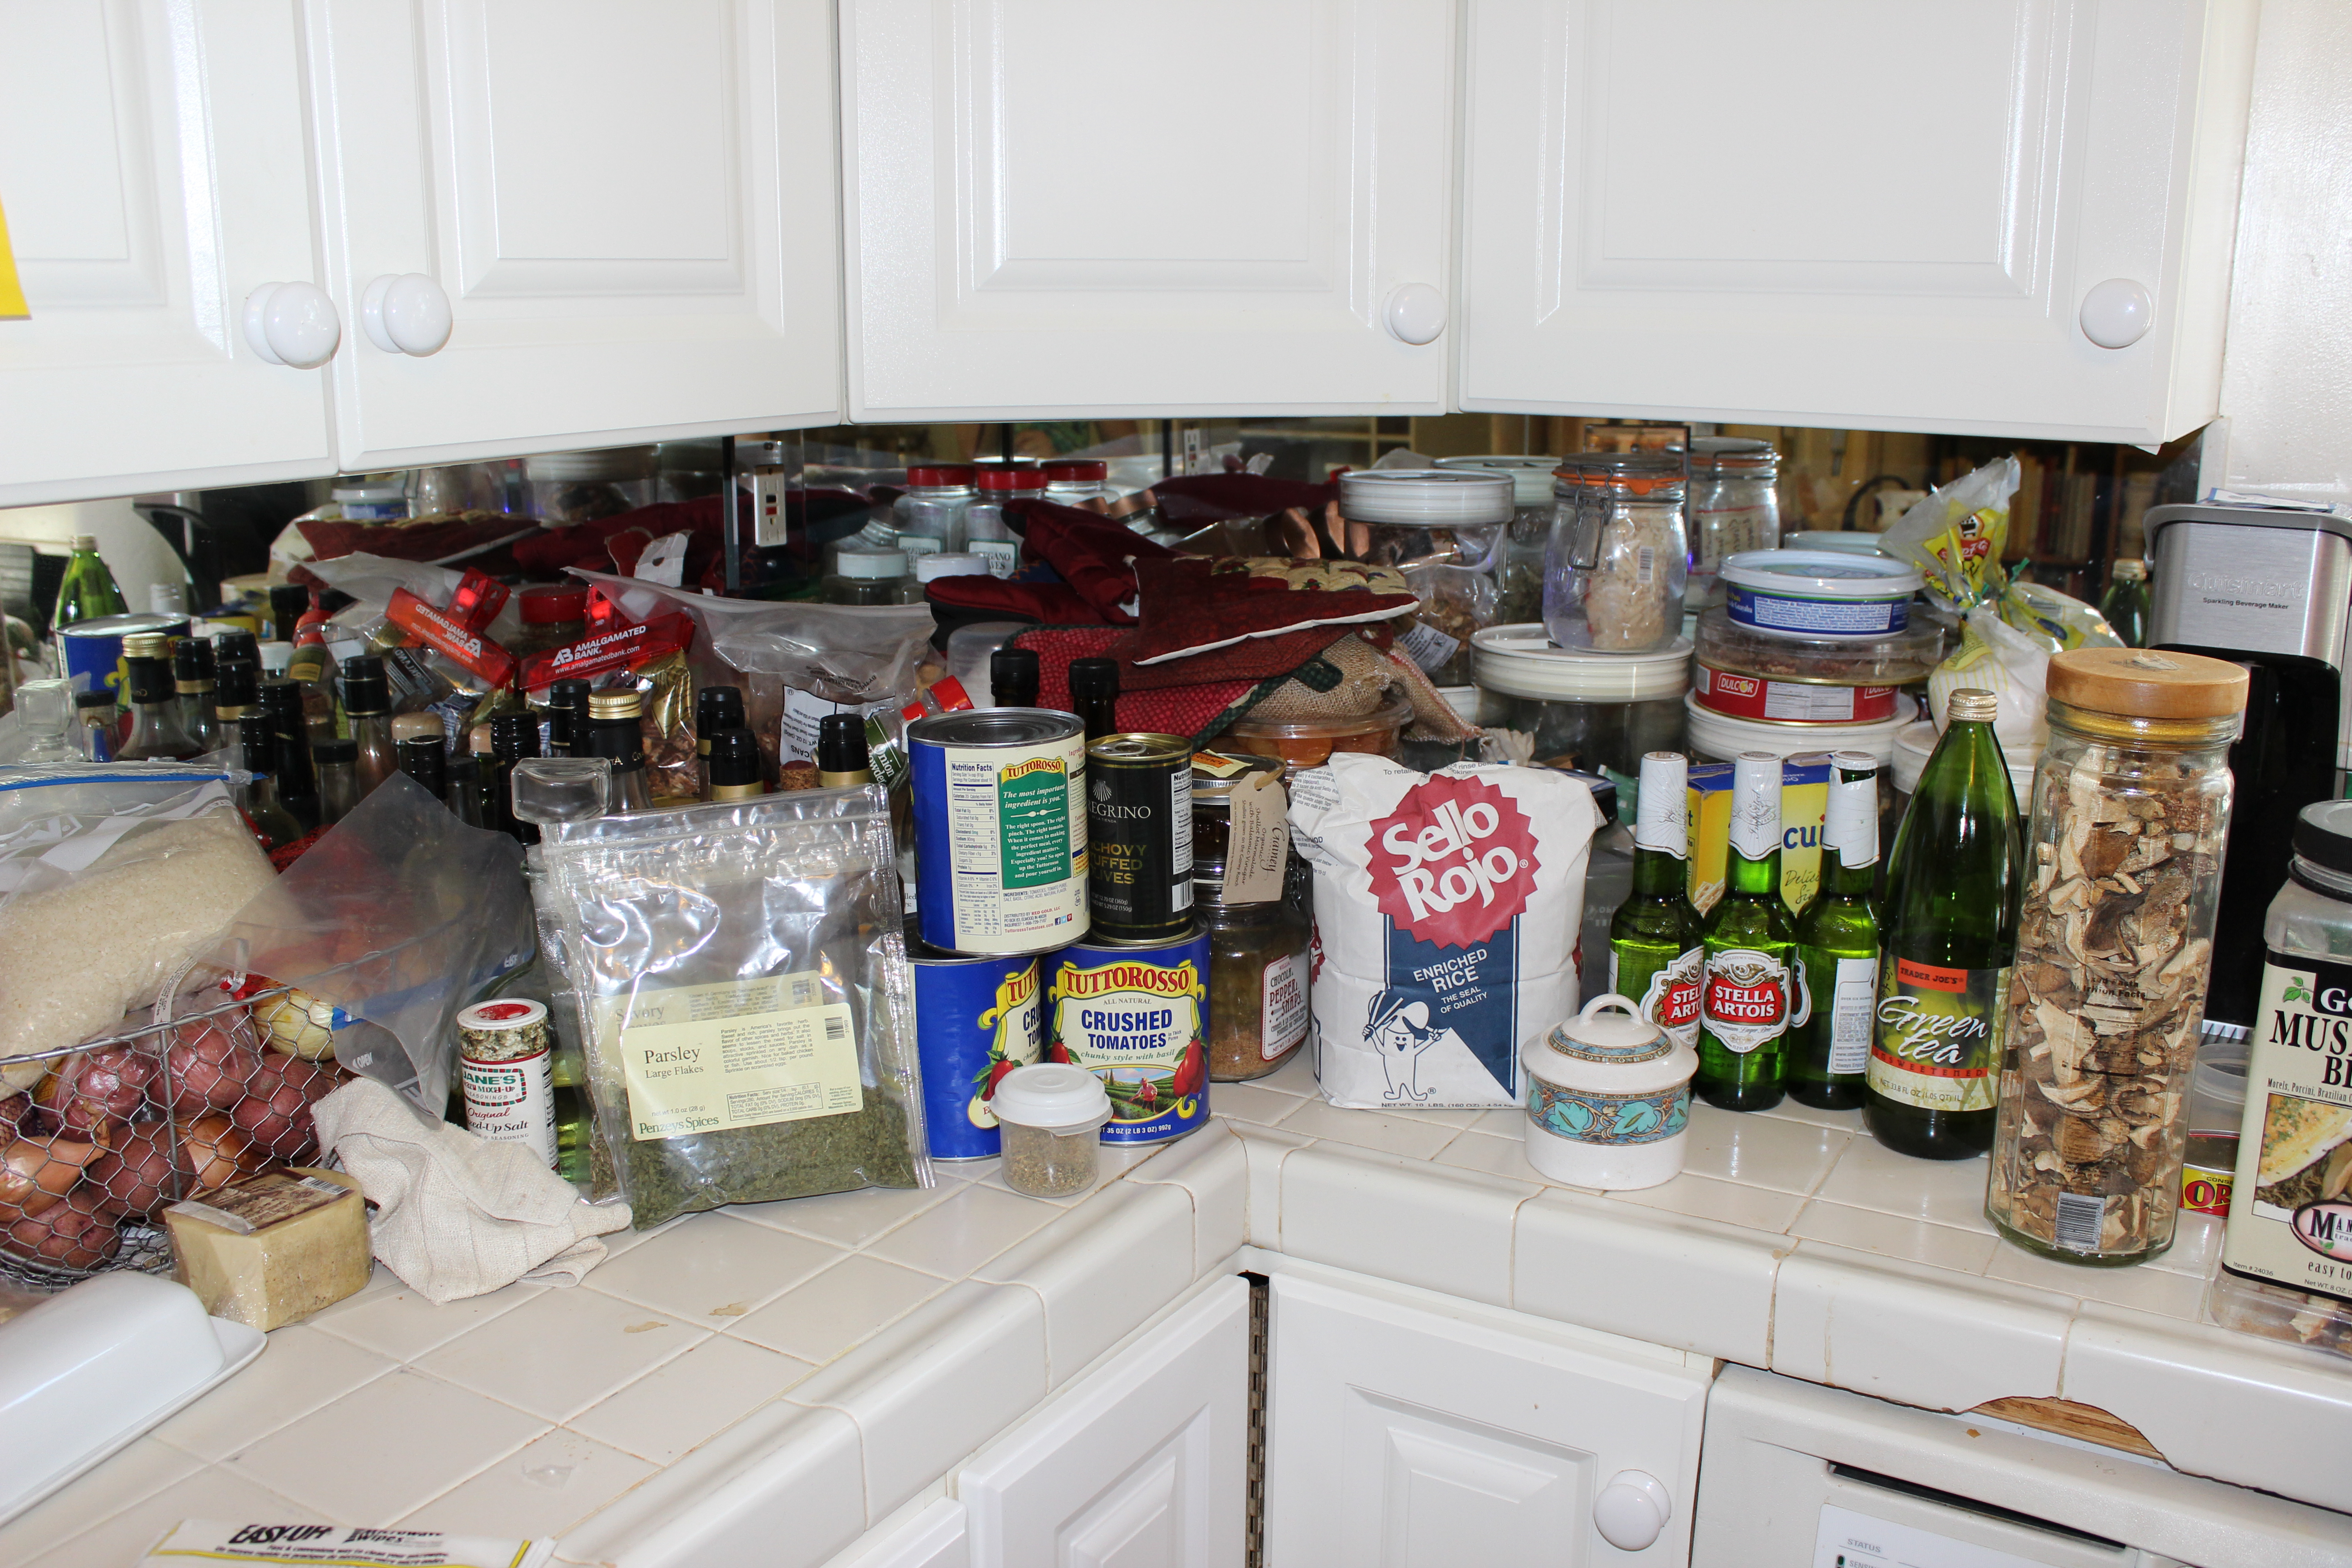
What we needed in this kitchen was better storage. Underneath a large pile of food and serving dishes was a small table and chairs that had been there for years. It had only been used to pile things on top of or hide things under. The dining table, where everyone actually ate, was in the next room and not even 10 steps away rendering a 2nd table so close unnecessary. I suggested we get rid of the kitchen table and get a storage closet with doors to create the storage we needed. Despite not having used the table in years, there was still some hesitation about getting rid of it. Everyone needs a kitchen table- right? But unless some serious purging happened, there simply would not be room in this small kicthen to keep the things they wanted and still have counter space.
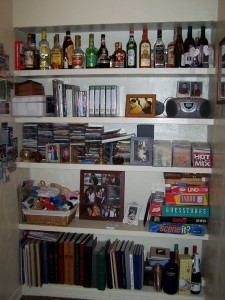
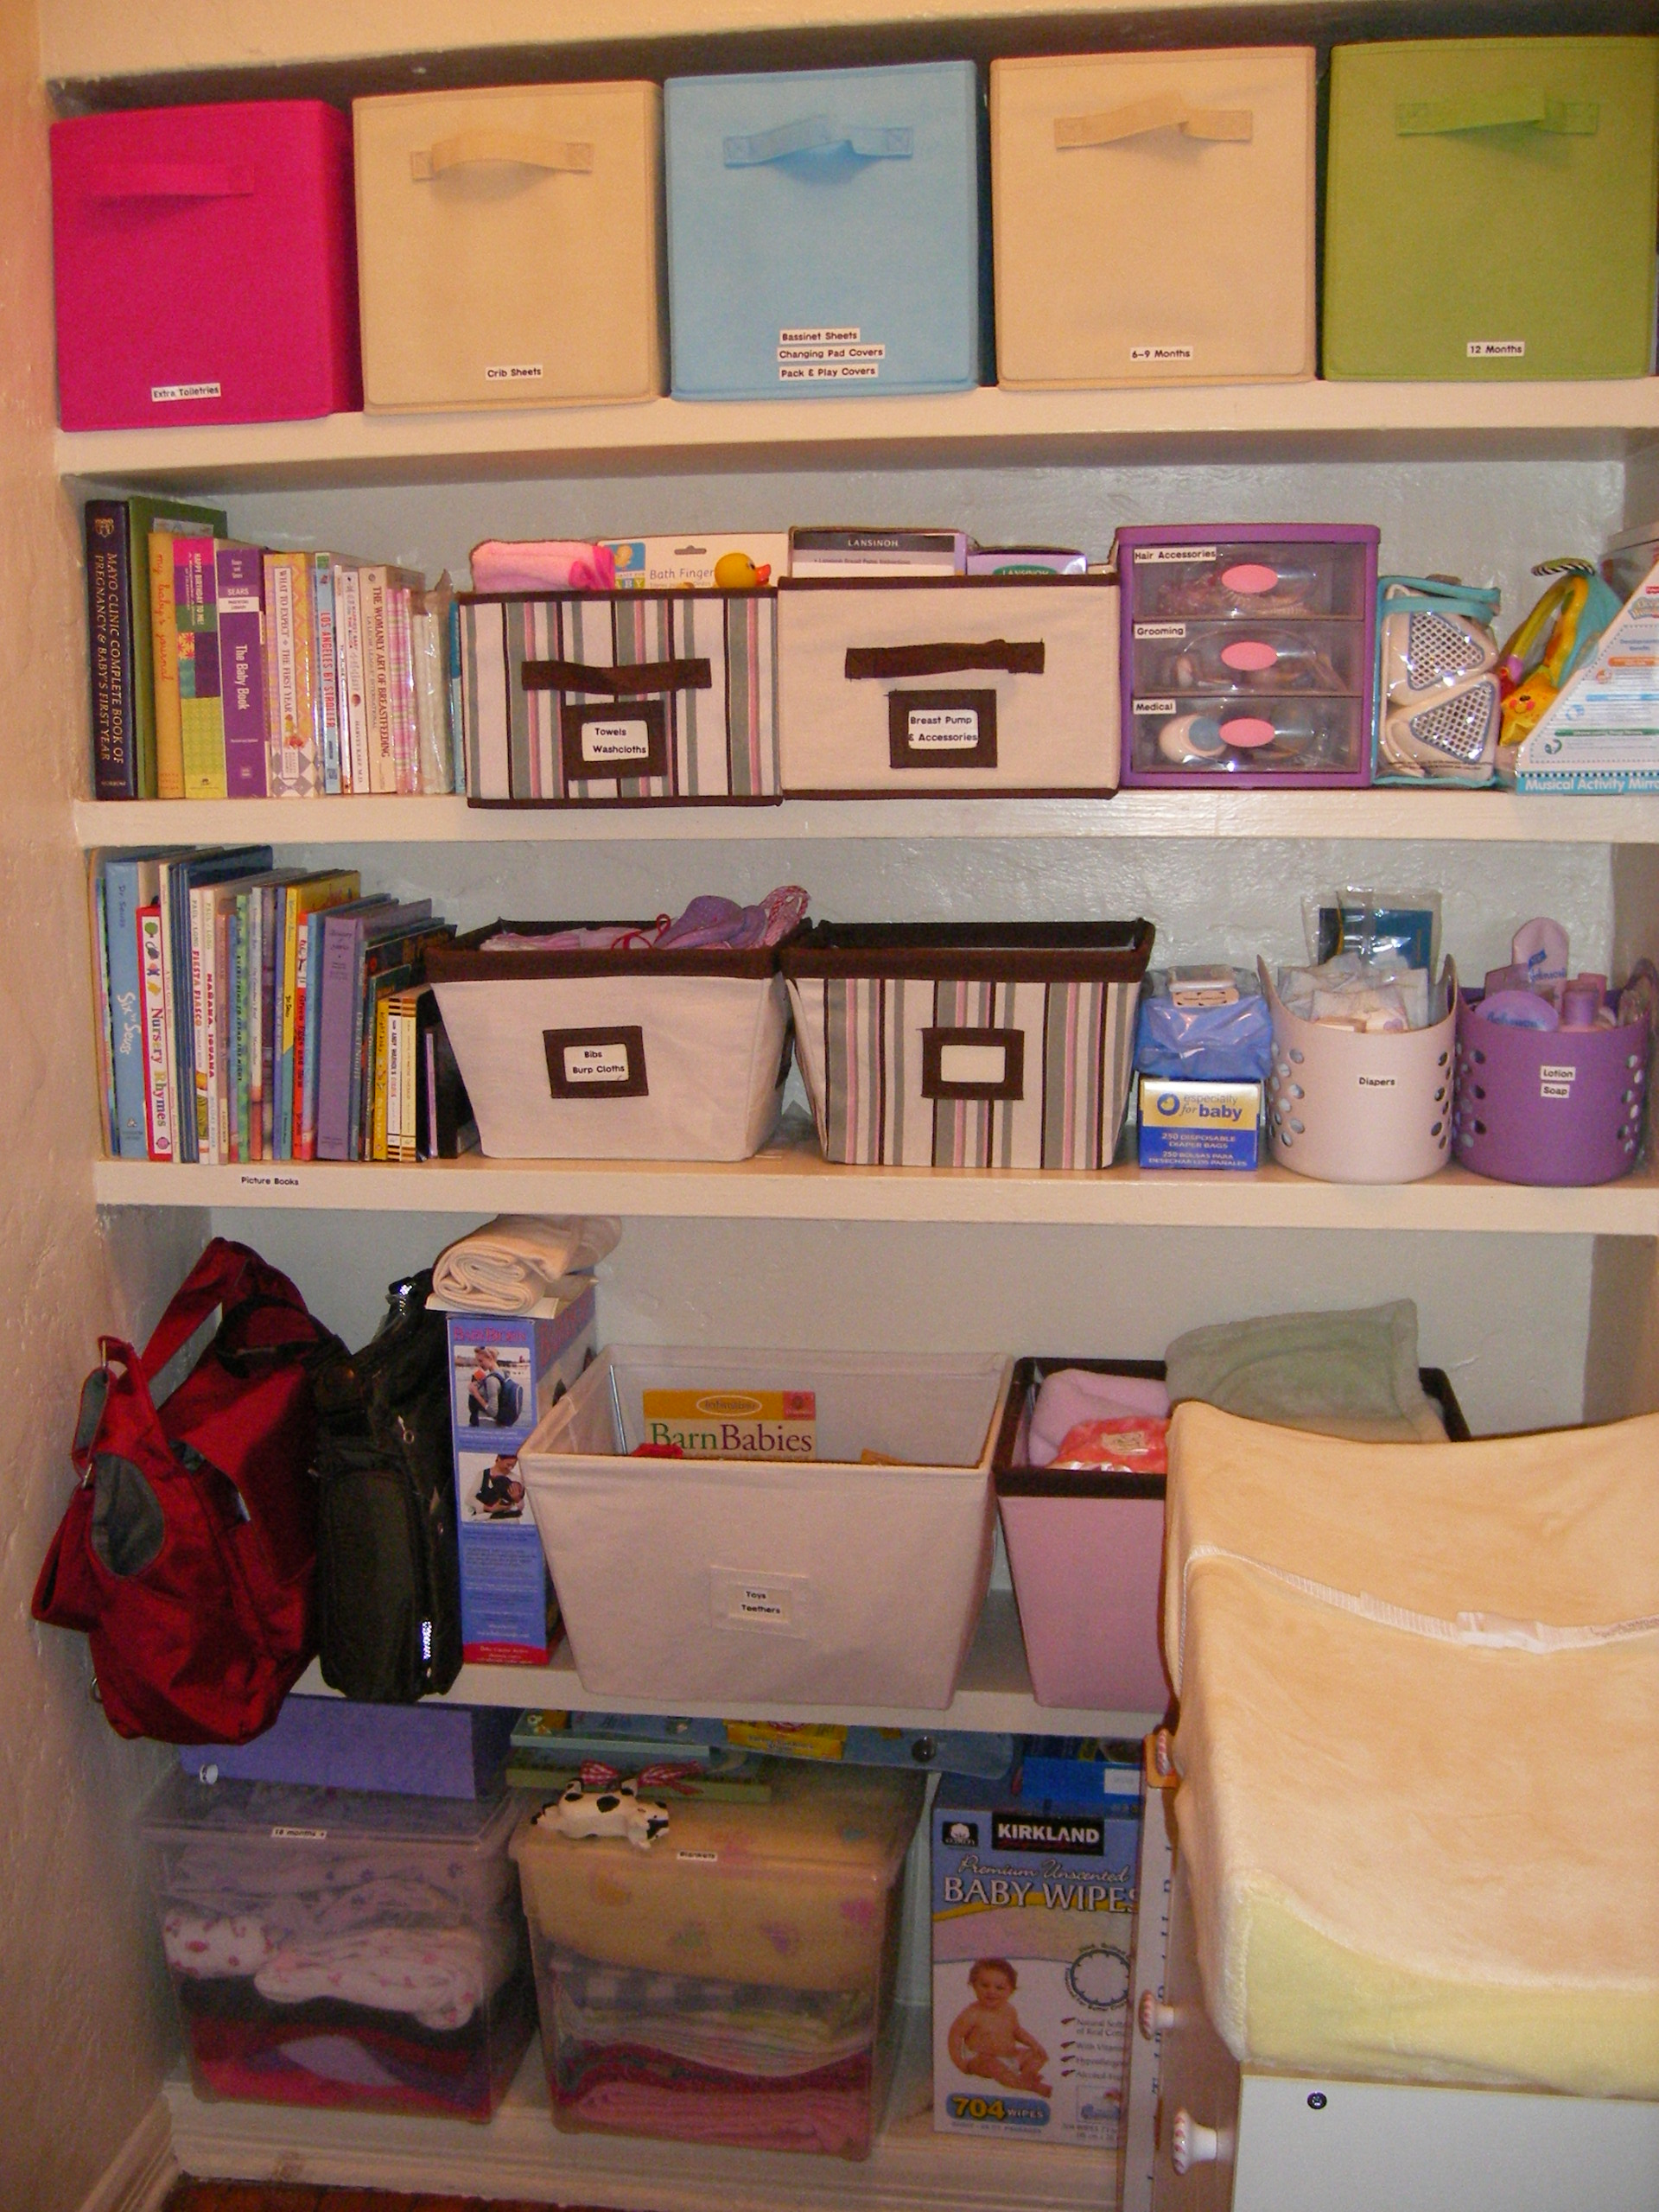
So, we found the perfect size storage unit with doors at the nearby Lowes and put it together. We marveled at all the new possibilities we had as we filled up the unit, using the shelves to group like items together with large spaces to put things like crock pots and lunch coolers. We straightened up the bookshelves which gave them new life and more space. We made sure all the food was still fresh and worth saving. In the end, we unearthed counter space and cleared off a small cutting board island that had also been covered and unusable.
In an afternoon, we were able to create the space needed so this cook could get back to cooking! If you have small spaces and big passions, you sometimes need to look at things a different way. You may never have a completely empty counter like you see in magazines. Bringing a garage storage unit into your kitchen and getting rid of your kitchen table might not sound like a good idea- but in this case, it was the perfect solution!
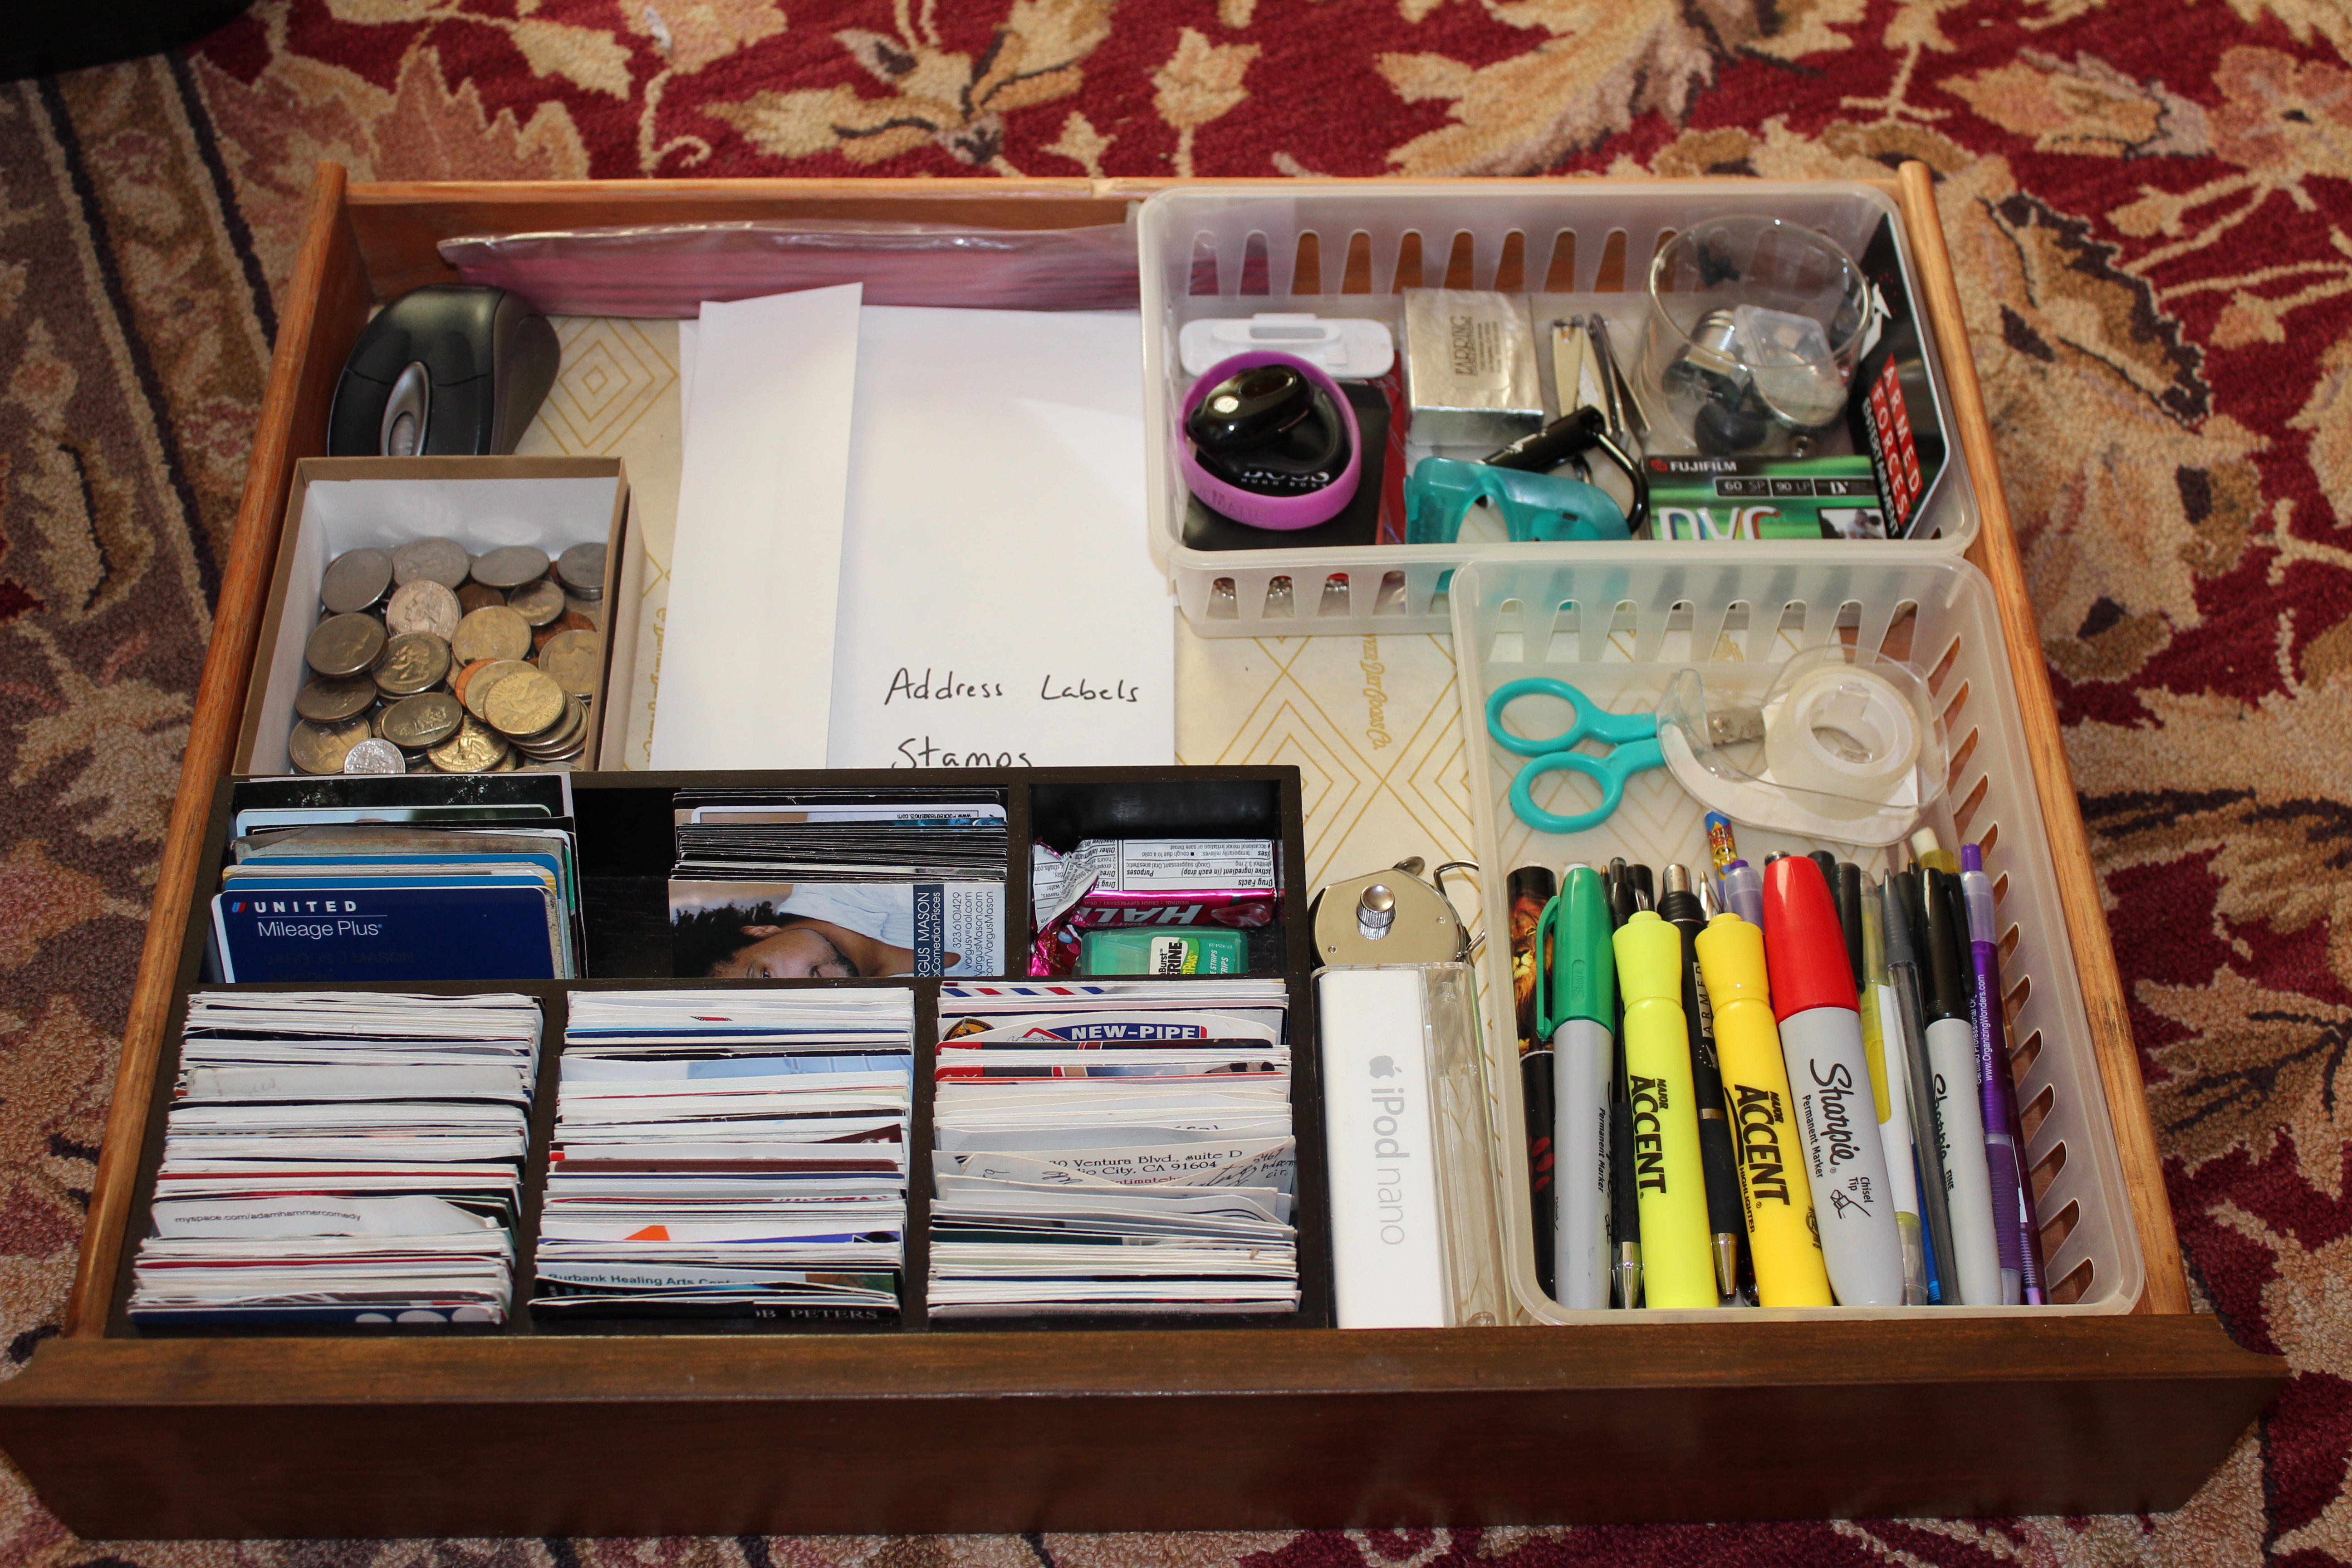
After
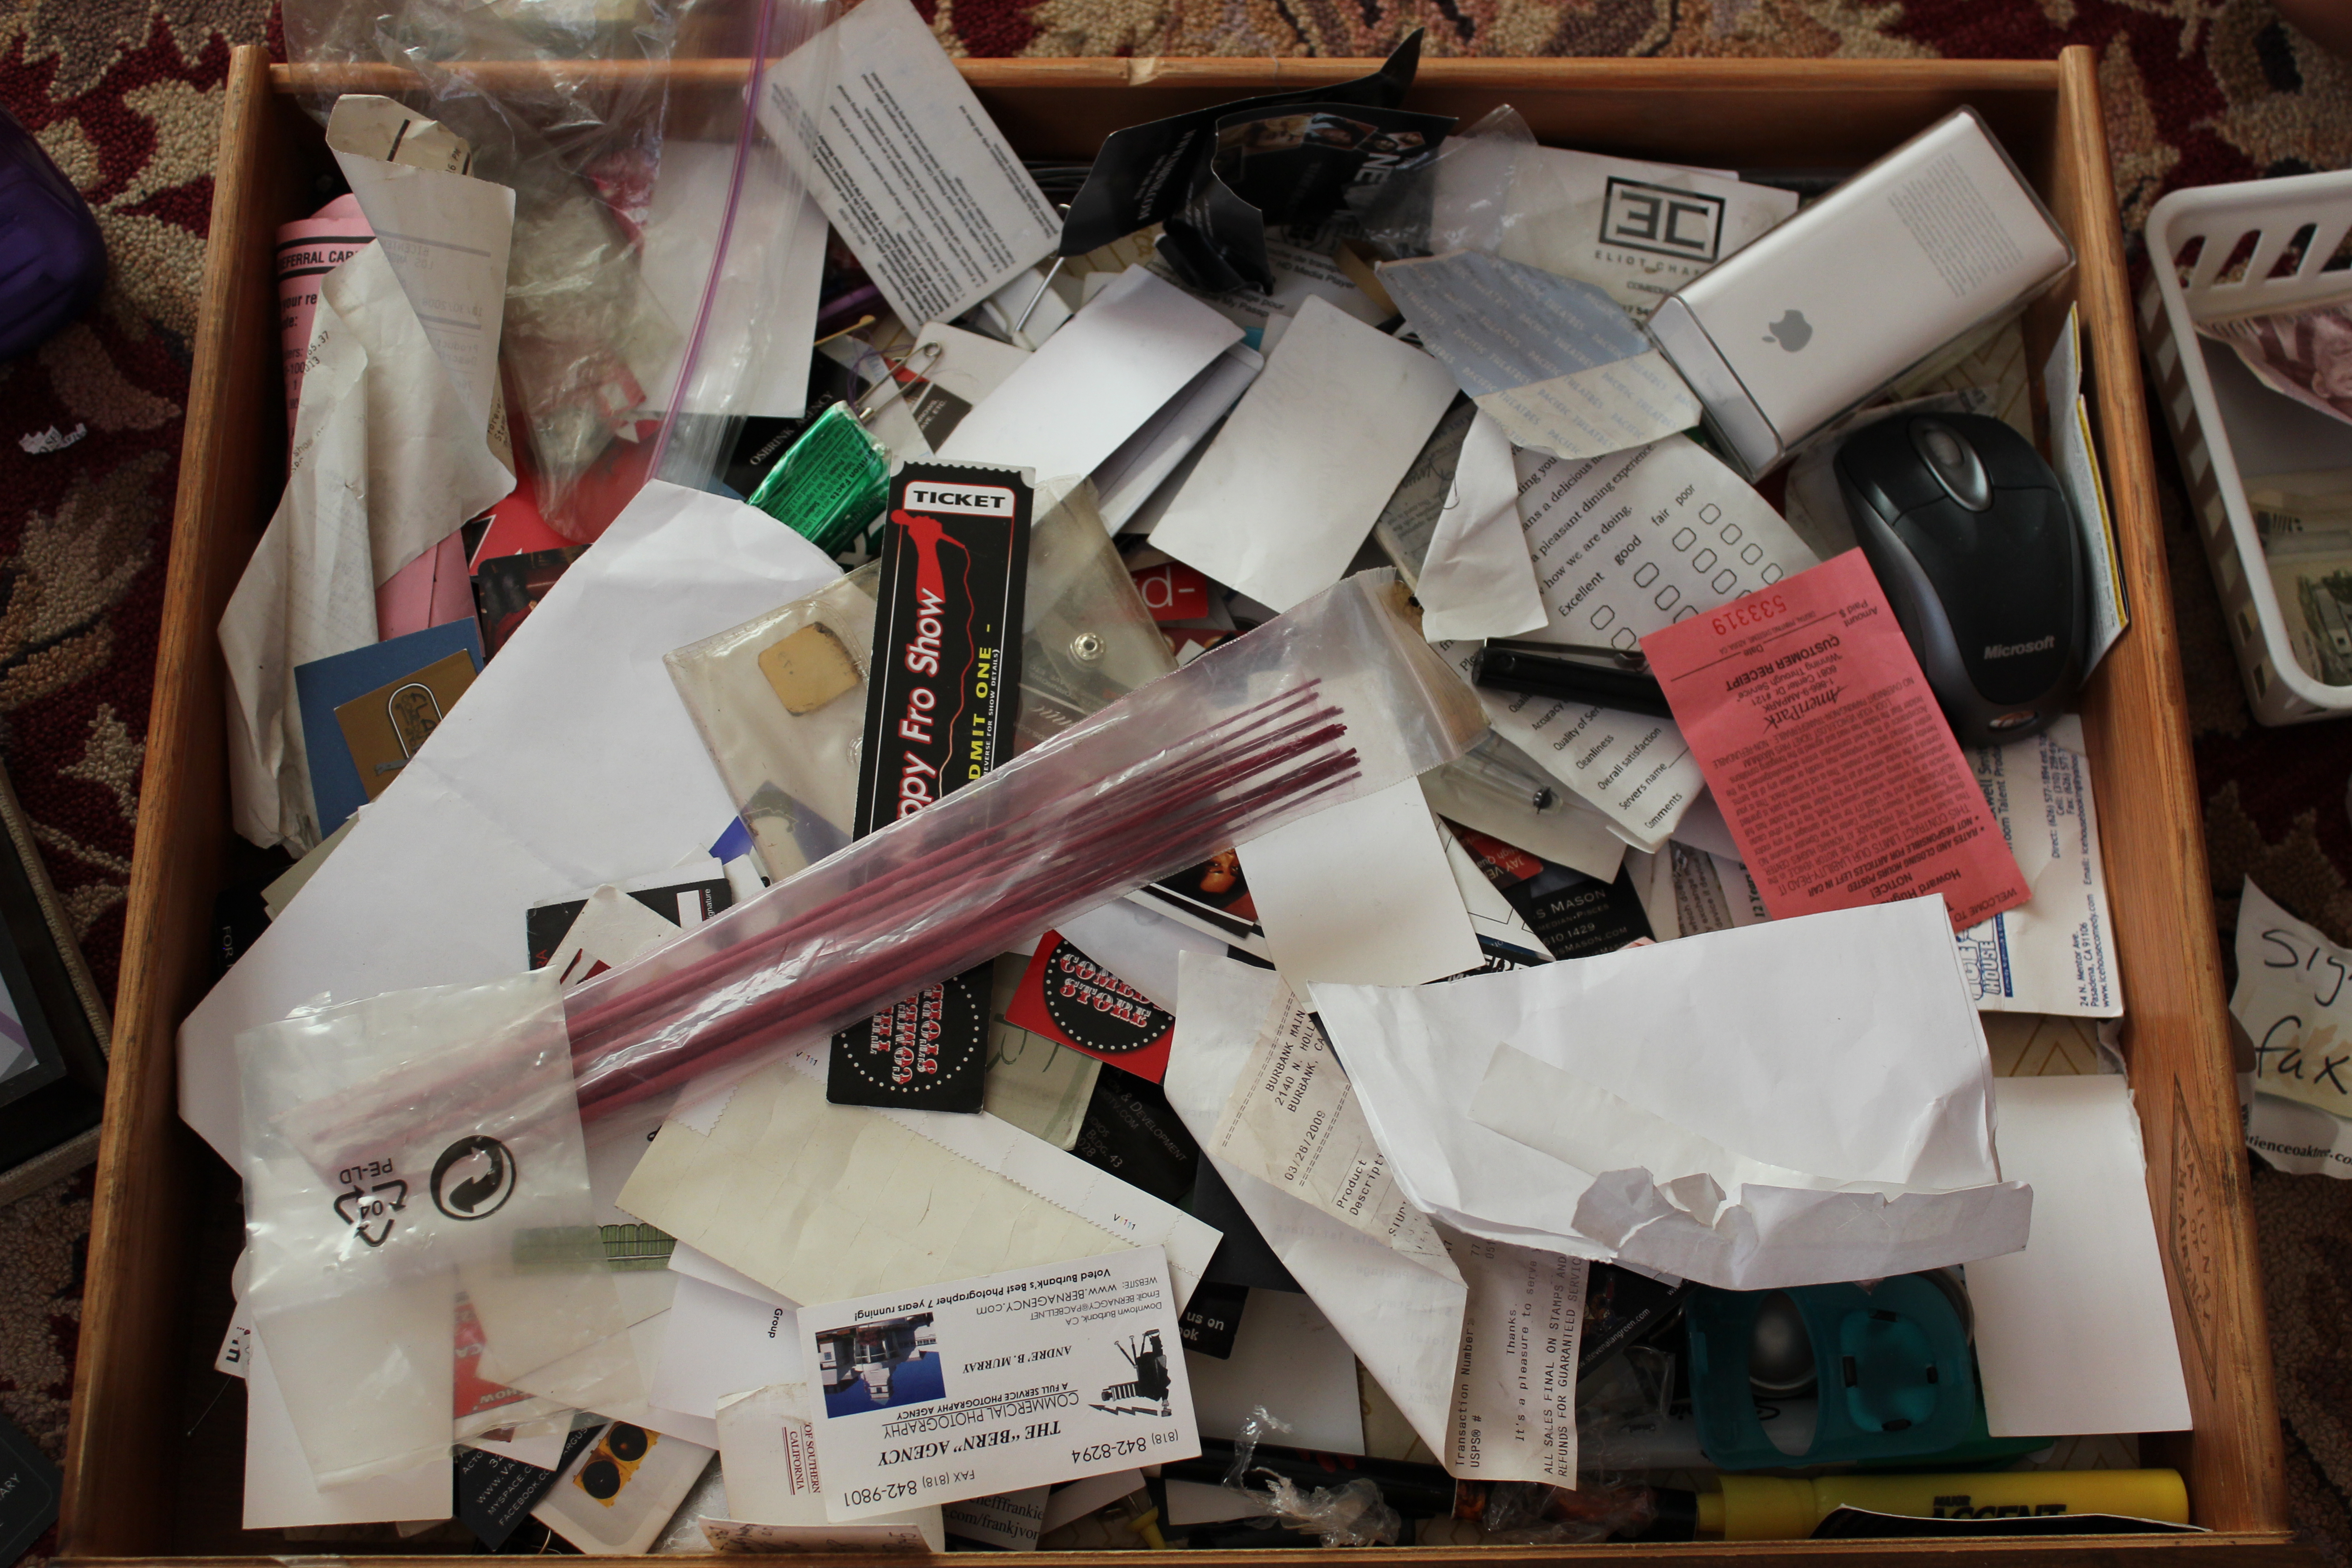
Before
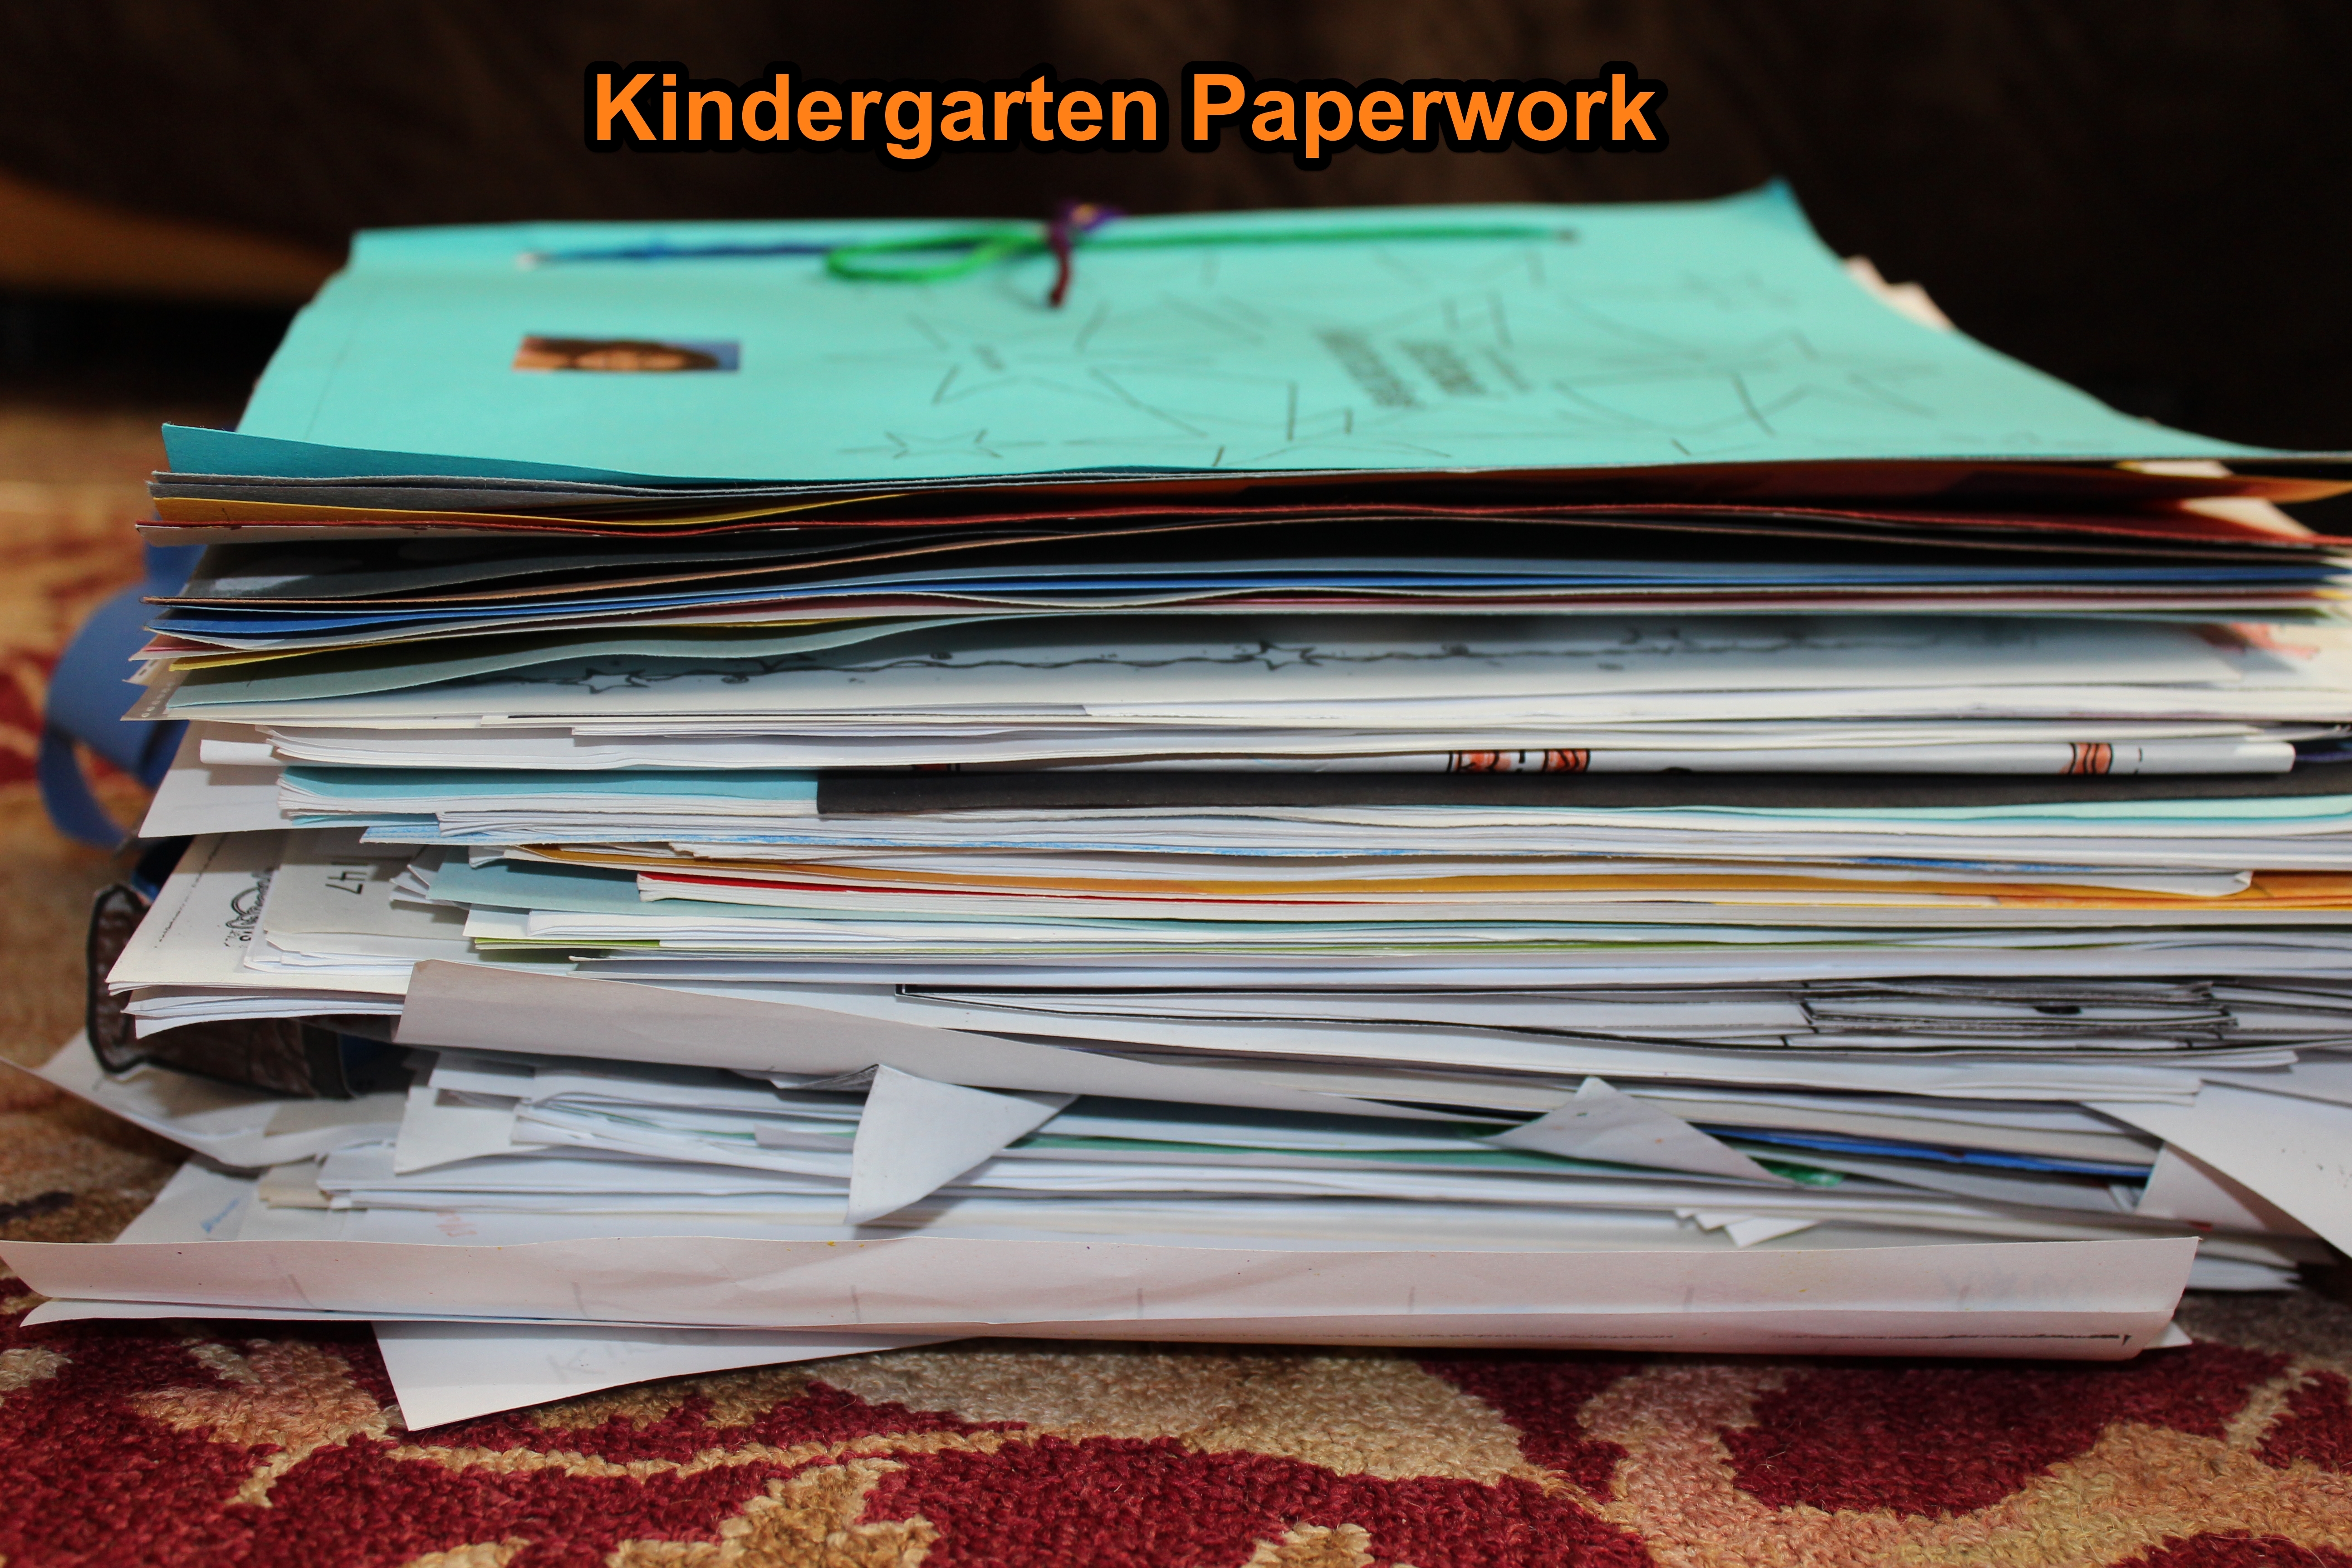
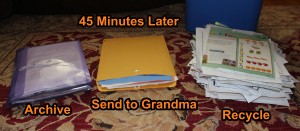 e she wrote sentences and we let the rest go. She focused on the art work and what she wanted to send to grandma. She even said that this was fun. (She is an organizer’s daughter after all =) The sort pile dwindled and we were done in 45 minutes. We ended up with a small envelope of memories, an envelope to mail to grandma, and a big pile of paper to recycle.